Categories
User roles and permissions
Invite team members, create custom roles, and set permissions.
Updated: July 2024
Table of contents
Overview
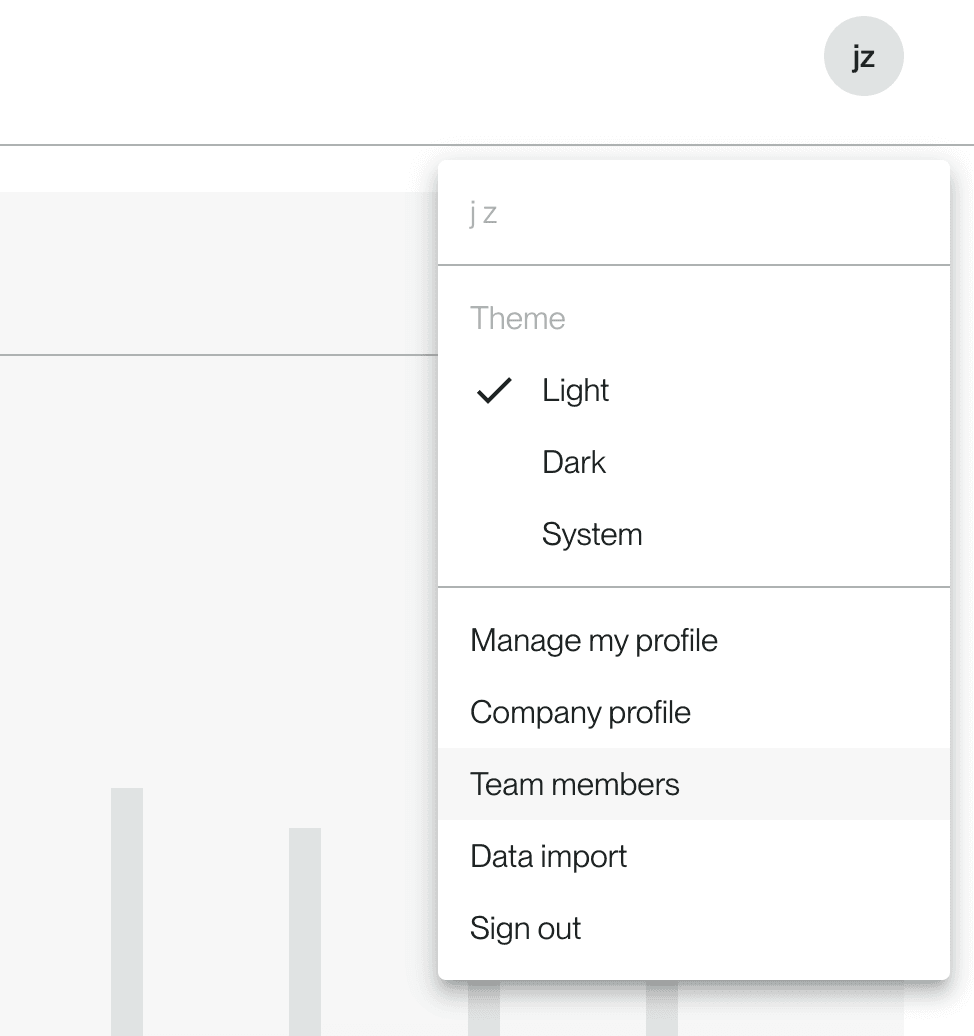
In Workiva Carbon, you can invite team members to collaborate with you in the application. You can also control each team member's access levels through the use of user roles and permissions. To manage these, first navigate to the Team members page via your avatar in the upper right hand corner of the screen.
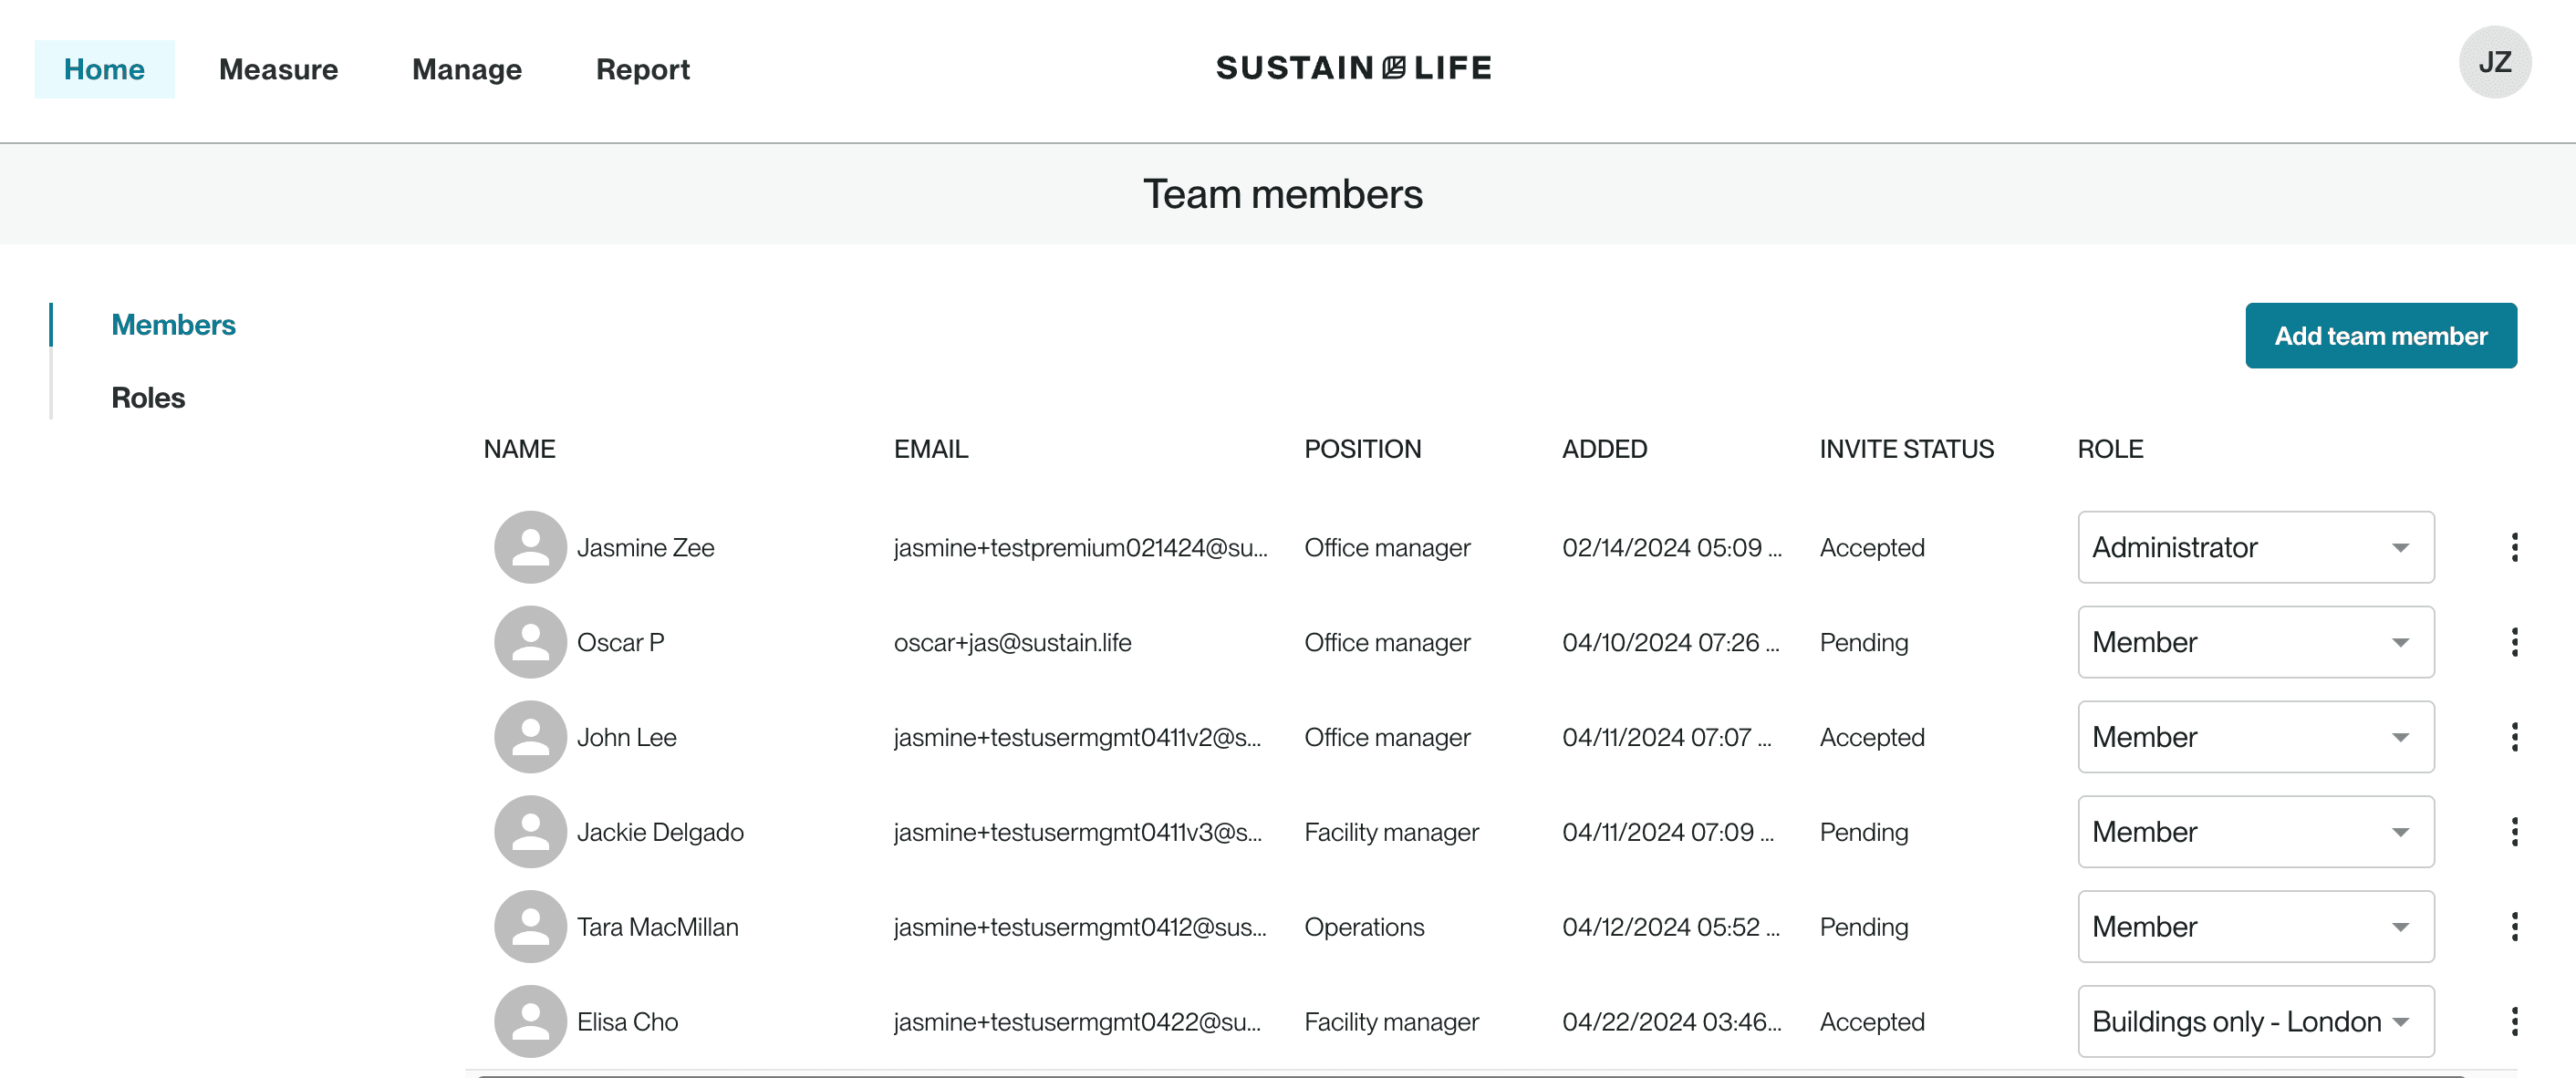
Here, you can see the full list of your team members and their permissioned role.
How-to guide
User management
Adding team members
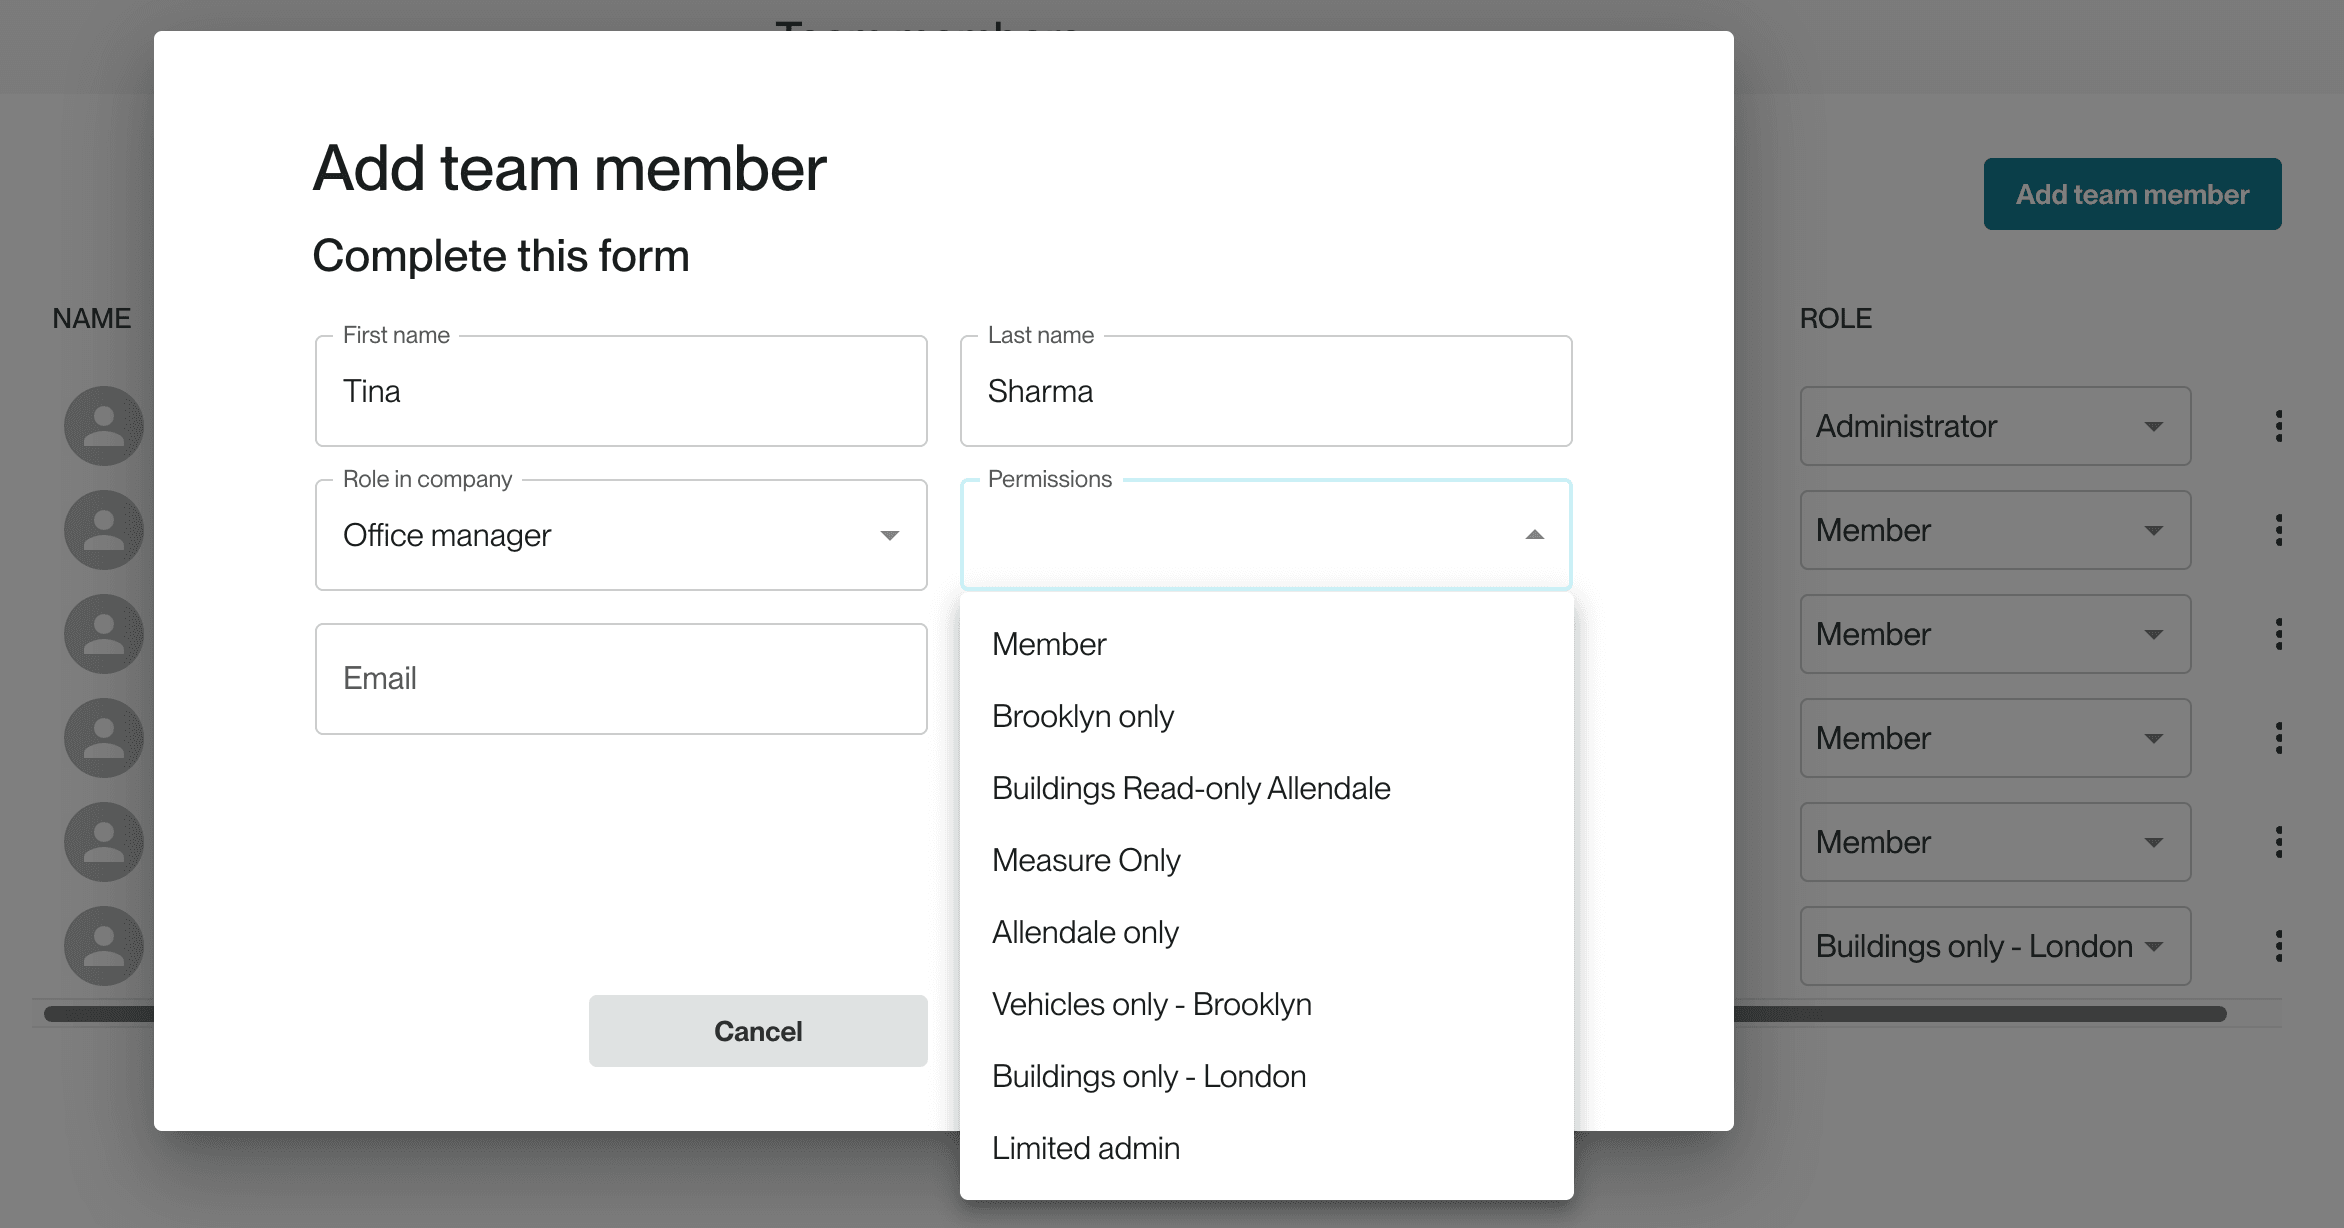
From the Team members page, click Add team member and fill in user details. Under Permissions, you will be able to choose from Administrator, Member, or any custom roles you have already created.
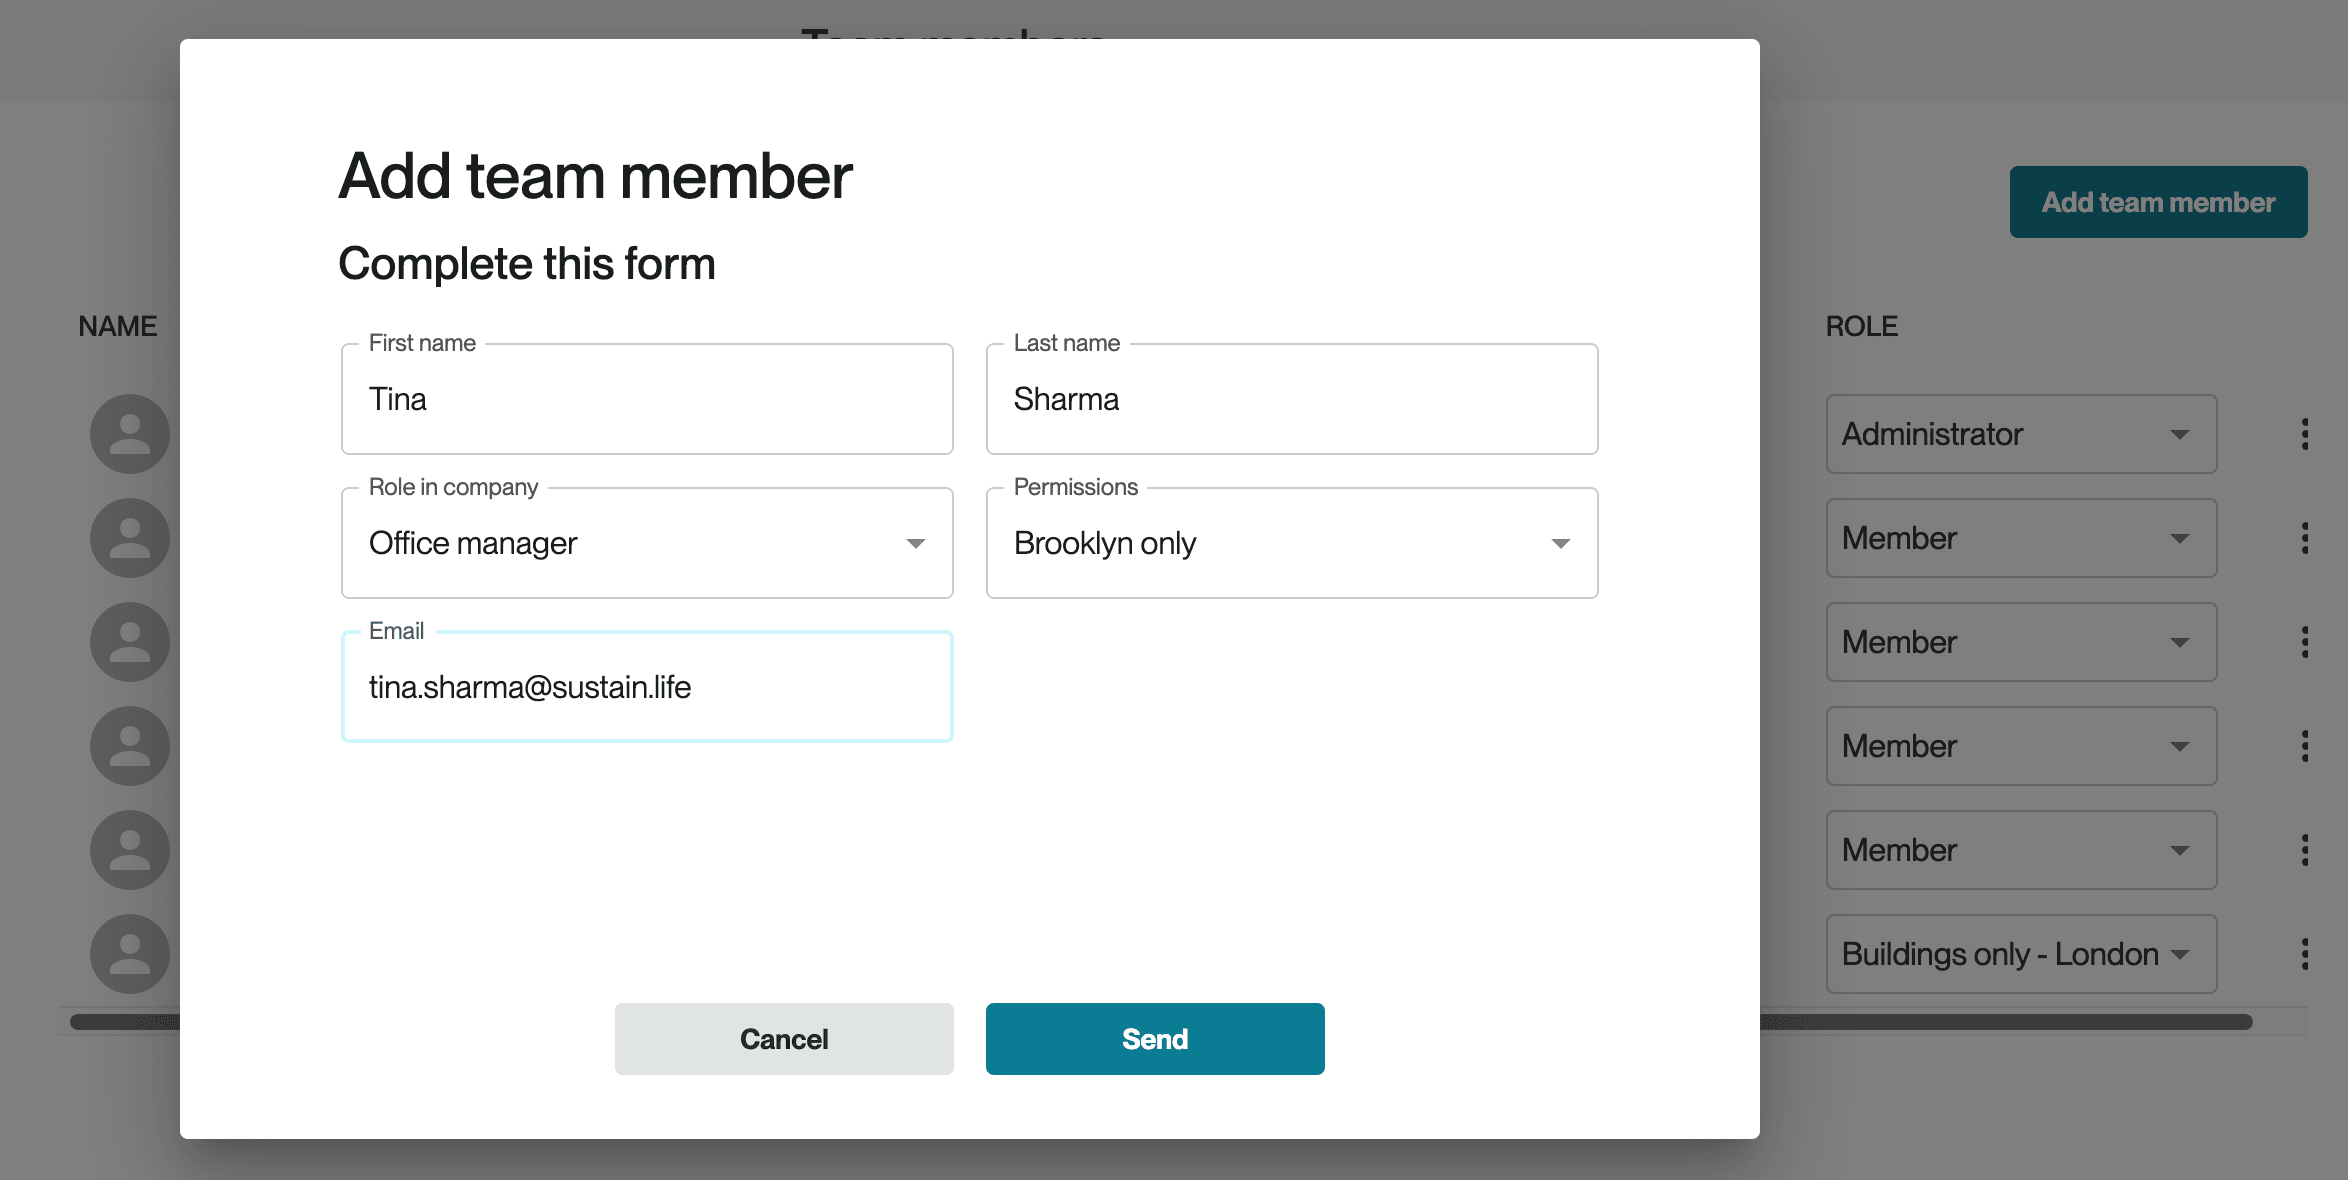
Finish filling in team member details and click Send. This will issue a Workiva Carbon email invite to your team member, from which they can create their own user account.
Assigning roles to users
Once you've created a custom role, you will be able to assign it to team members.
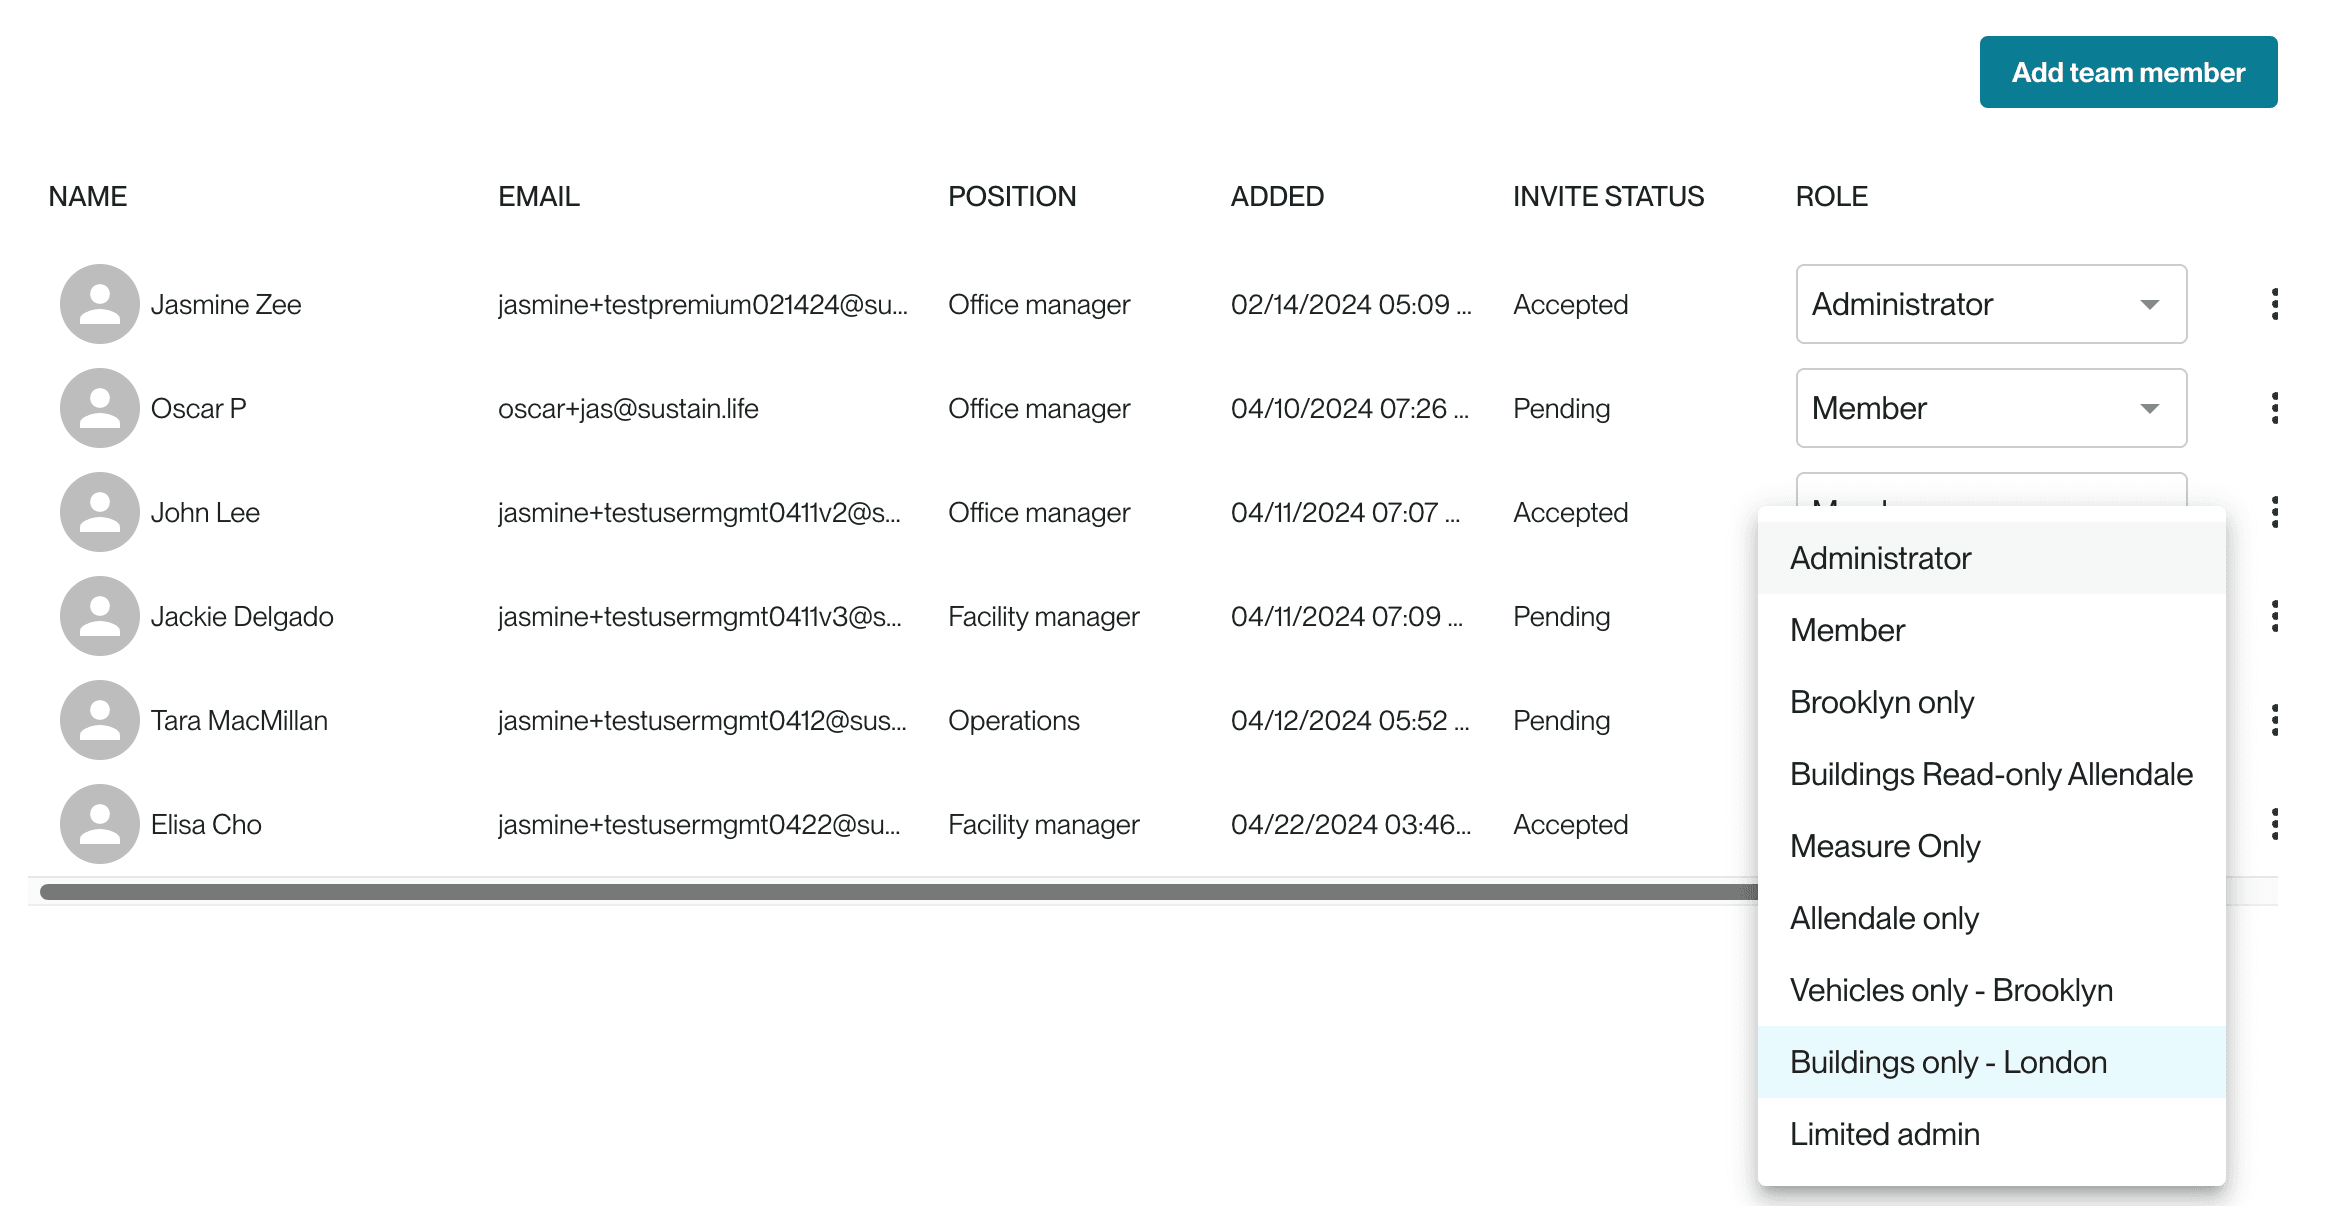
If you want to change a user's role, you can do so via the role dropdown. Simply select the new role from the dropdown; no need to click save.
Deleting team members
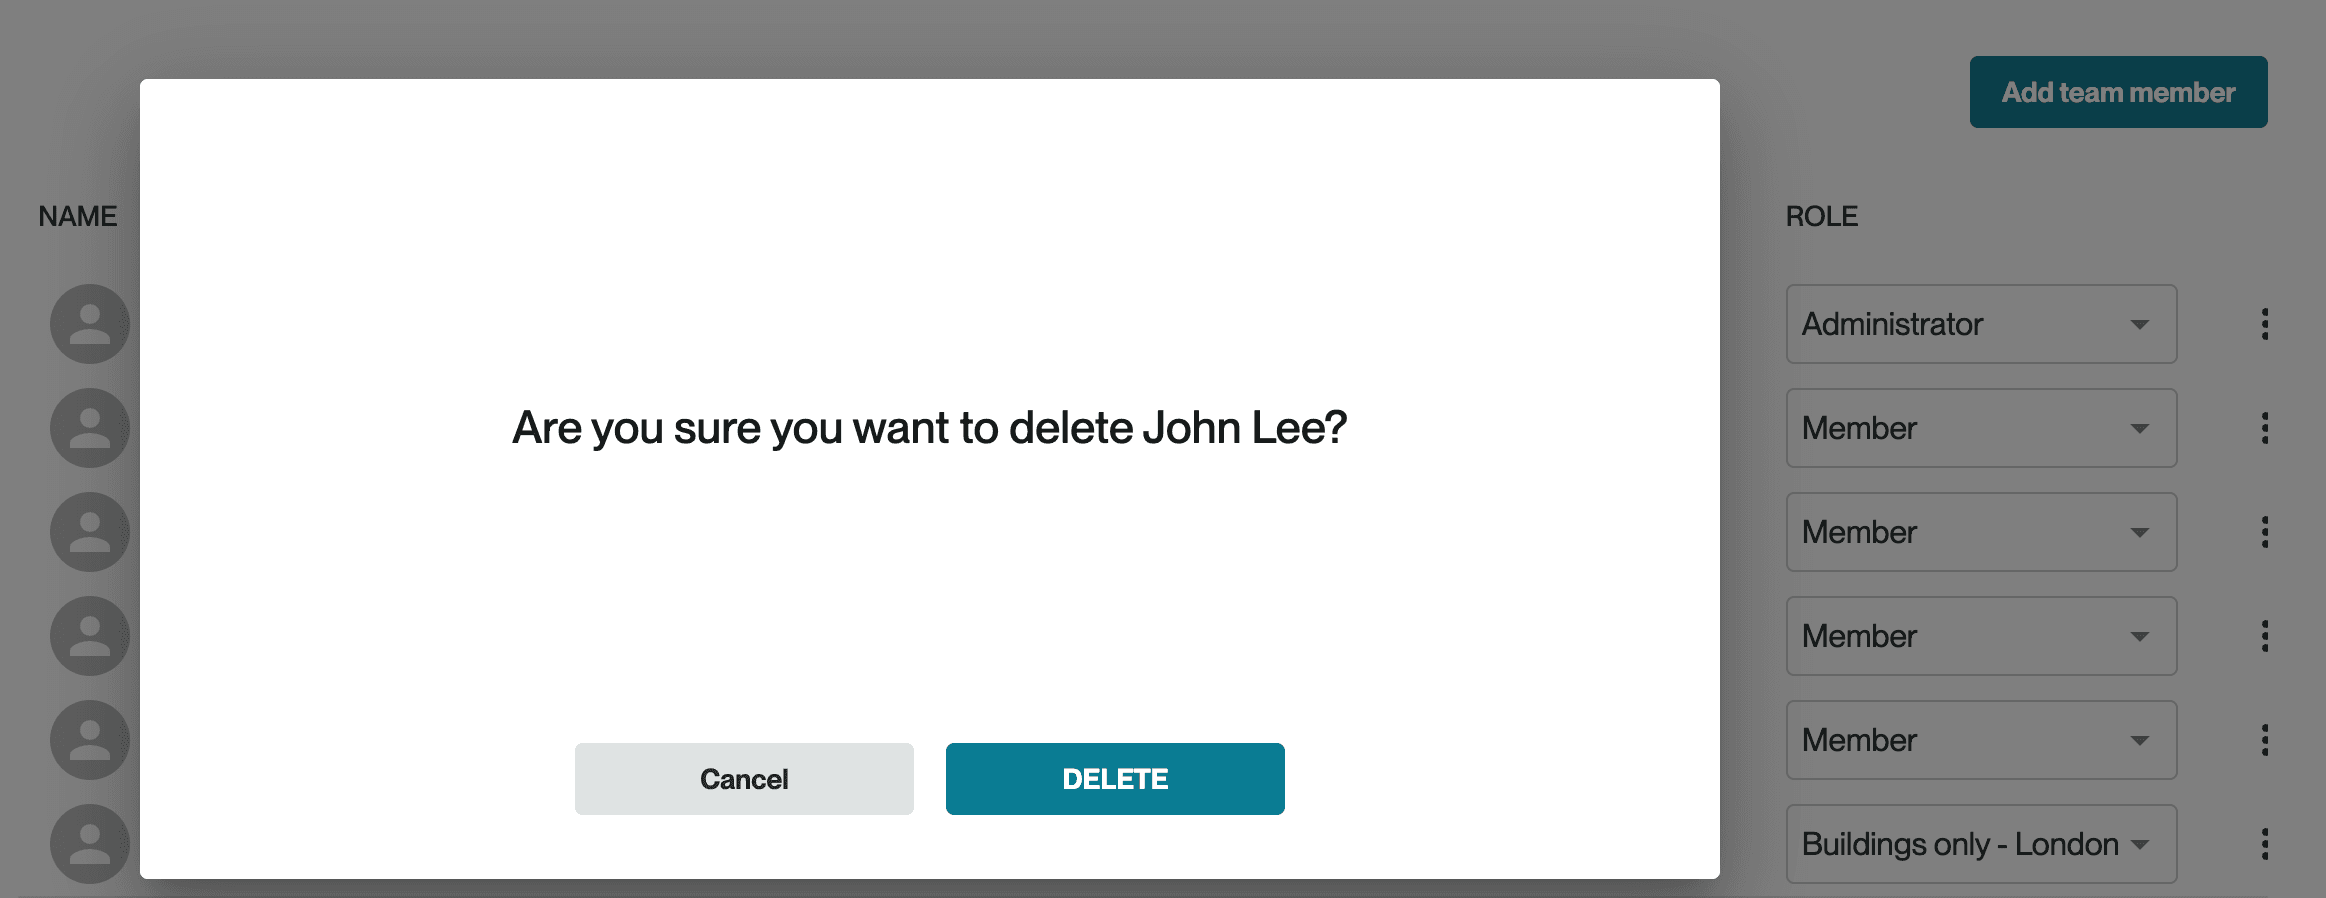
If a team member no longer needs access to Workiva Carbon, you can delete them from your account. From the 3 dots next to the user, click Delete and confirm again in the popup window.

User roles
Default roles
Workiva Carbon has two default user roles:
- Administrator
- Full access to all pages of the application
- Able to add and delete locations, add or remove team members, and manage user roles
- Able to add and edit integrations
- If on a consultant or portfolio tier, admins can also add clients and portfolio companies
- Team member
- Full access to all pages of the application
- Able to add locations (but not delete)
- Able to add and edit integrations
- Not able to add or remove team members and manage user roles
- If on a consultant or portfolio tier, team members cannot add clients and portfolio companies
On the Roles page, these default roles are unlisted as they are permanent and cannot be changed.
Custom roles
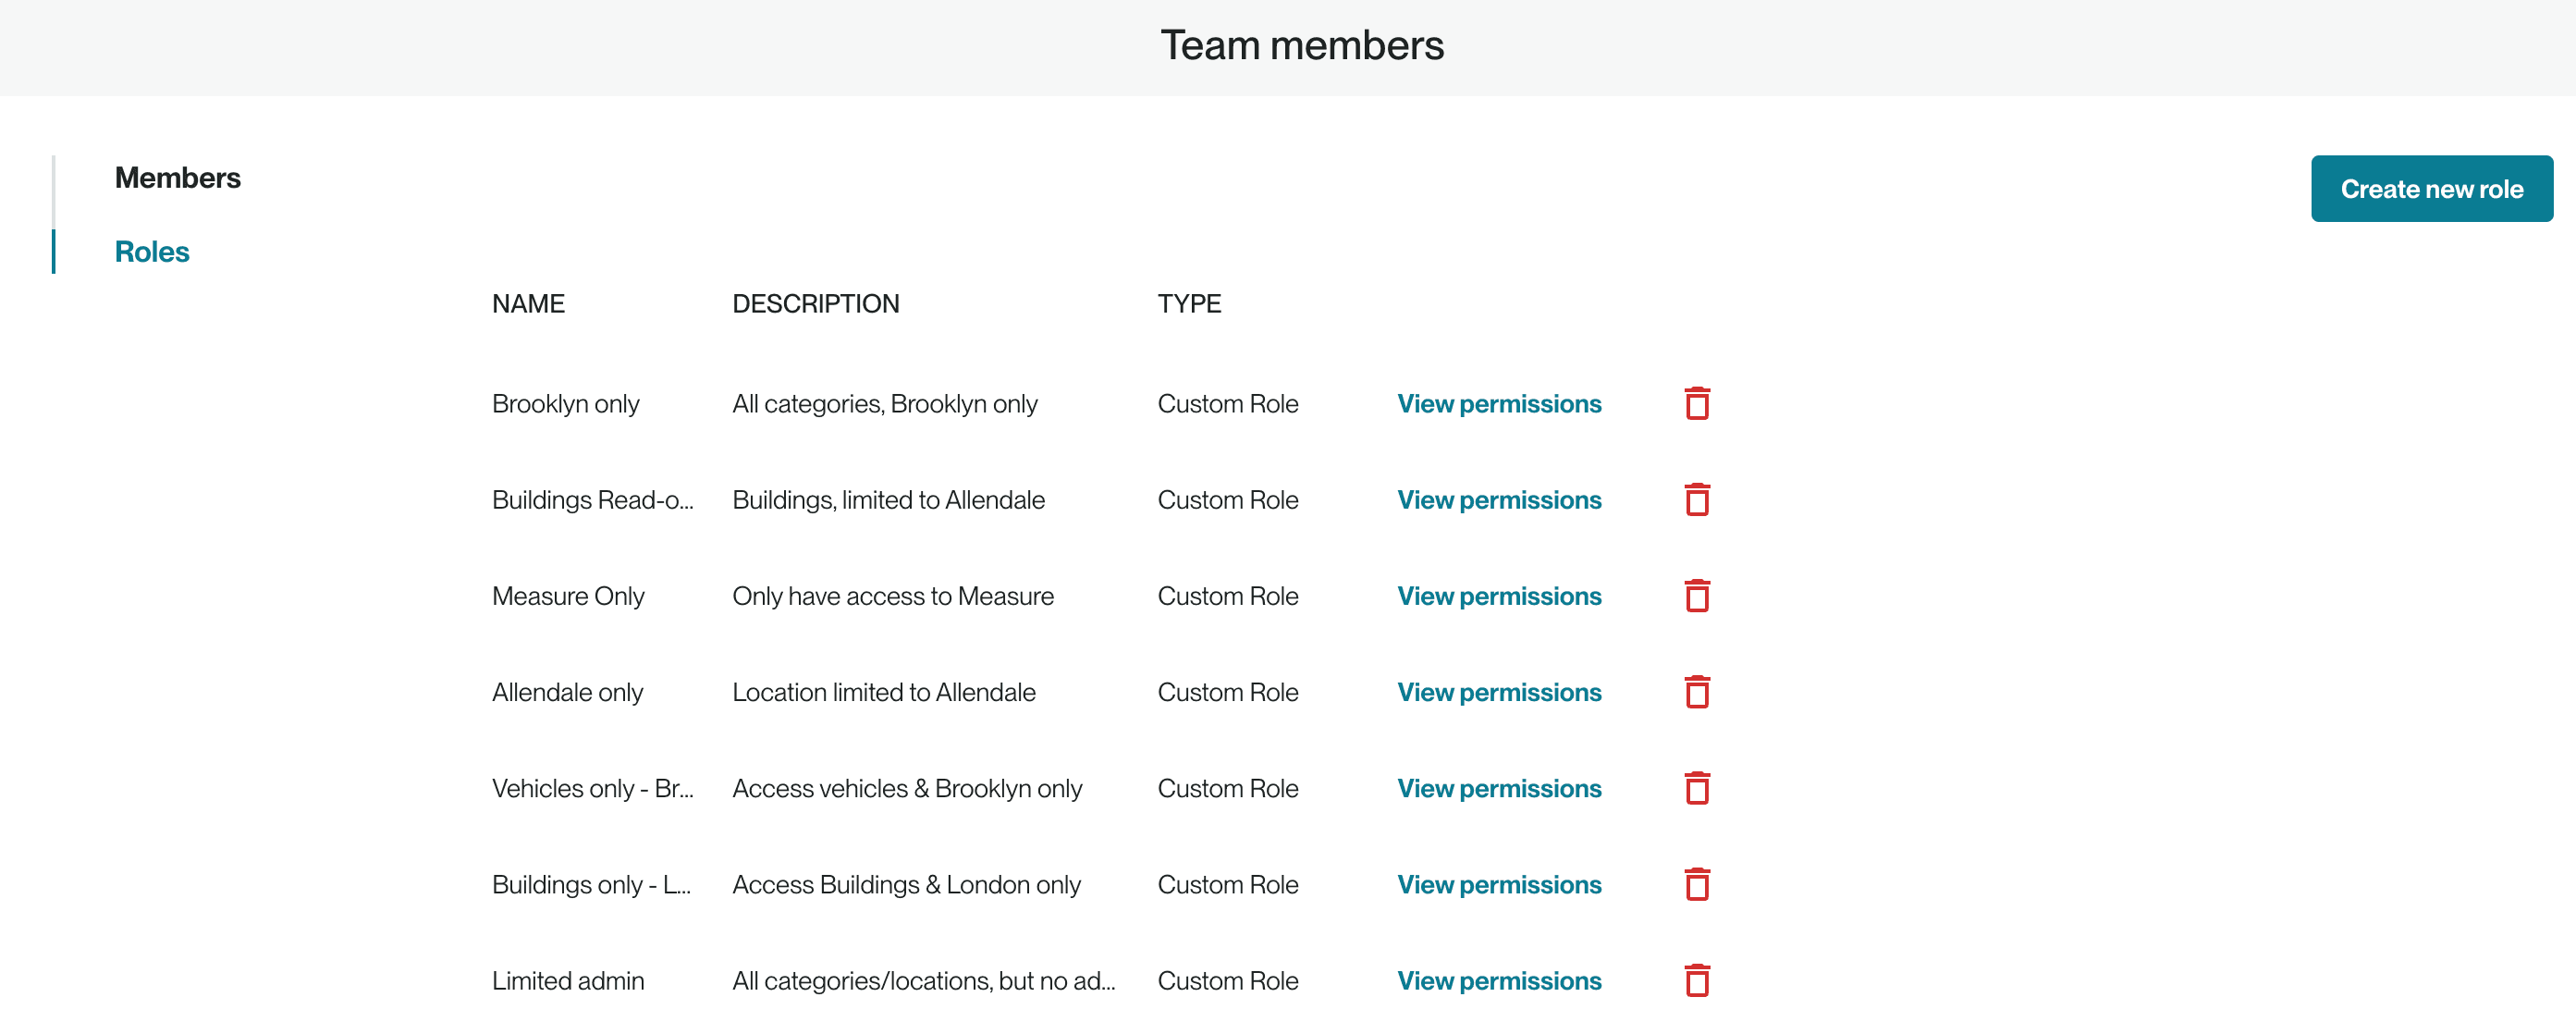
To create your own custom role(s), click Create new role in the upper right hand corner of the page.
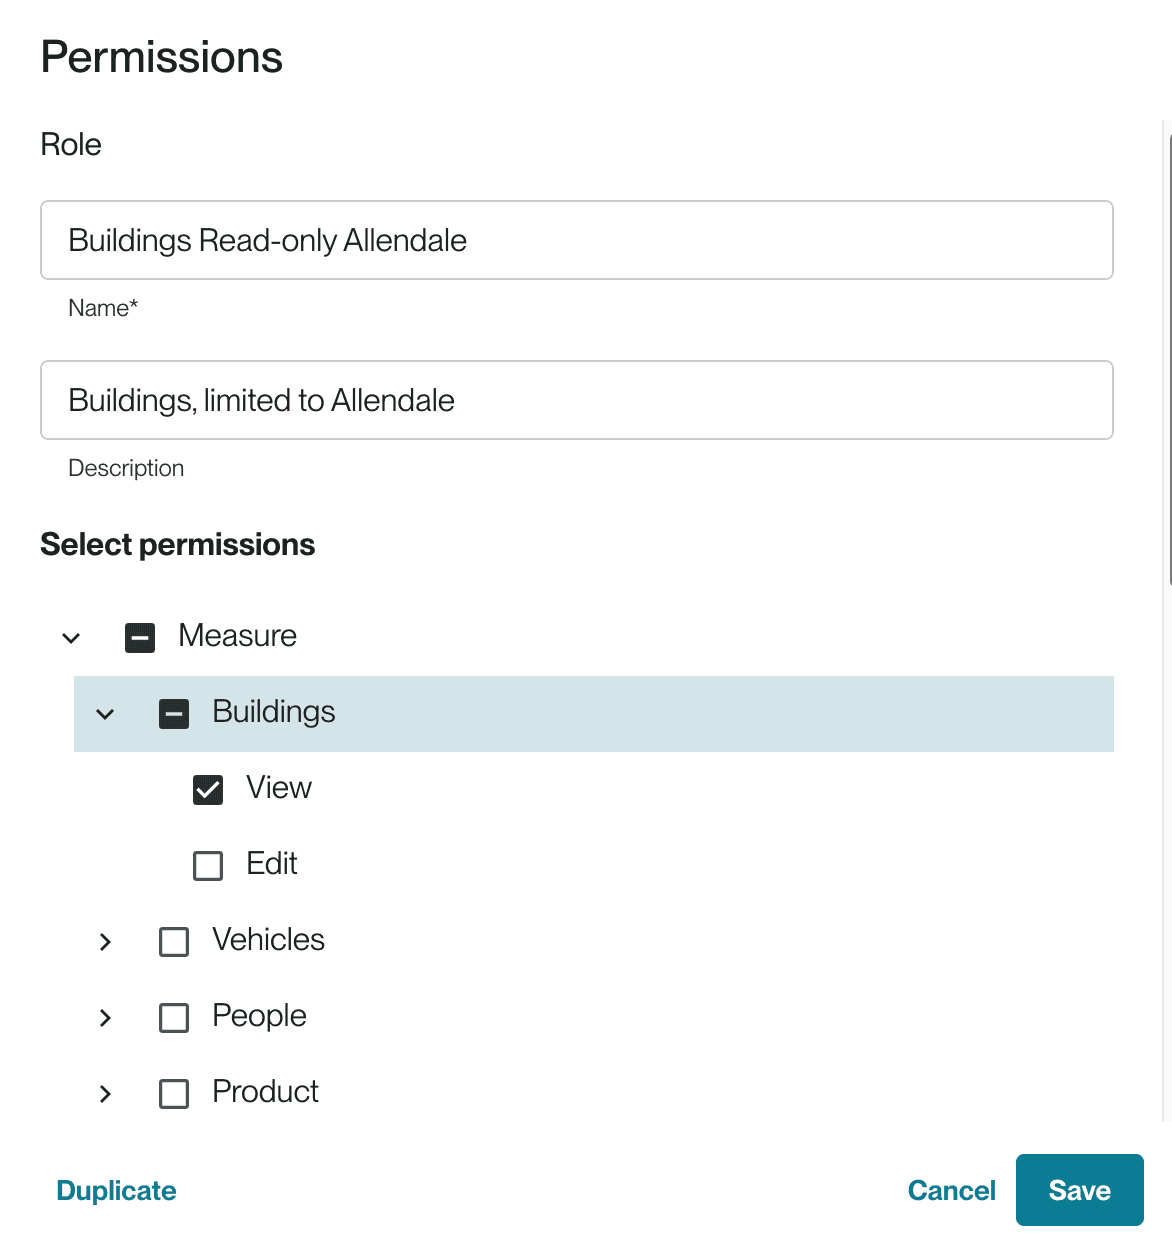
From there, you'll see a Permissions modal. Provide a name and description for your custom role and select the permissions to enable. There are three types of permissions: category and page, locations, and settings (see below sections for details).
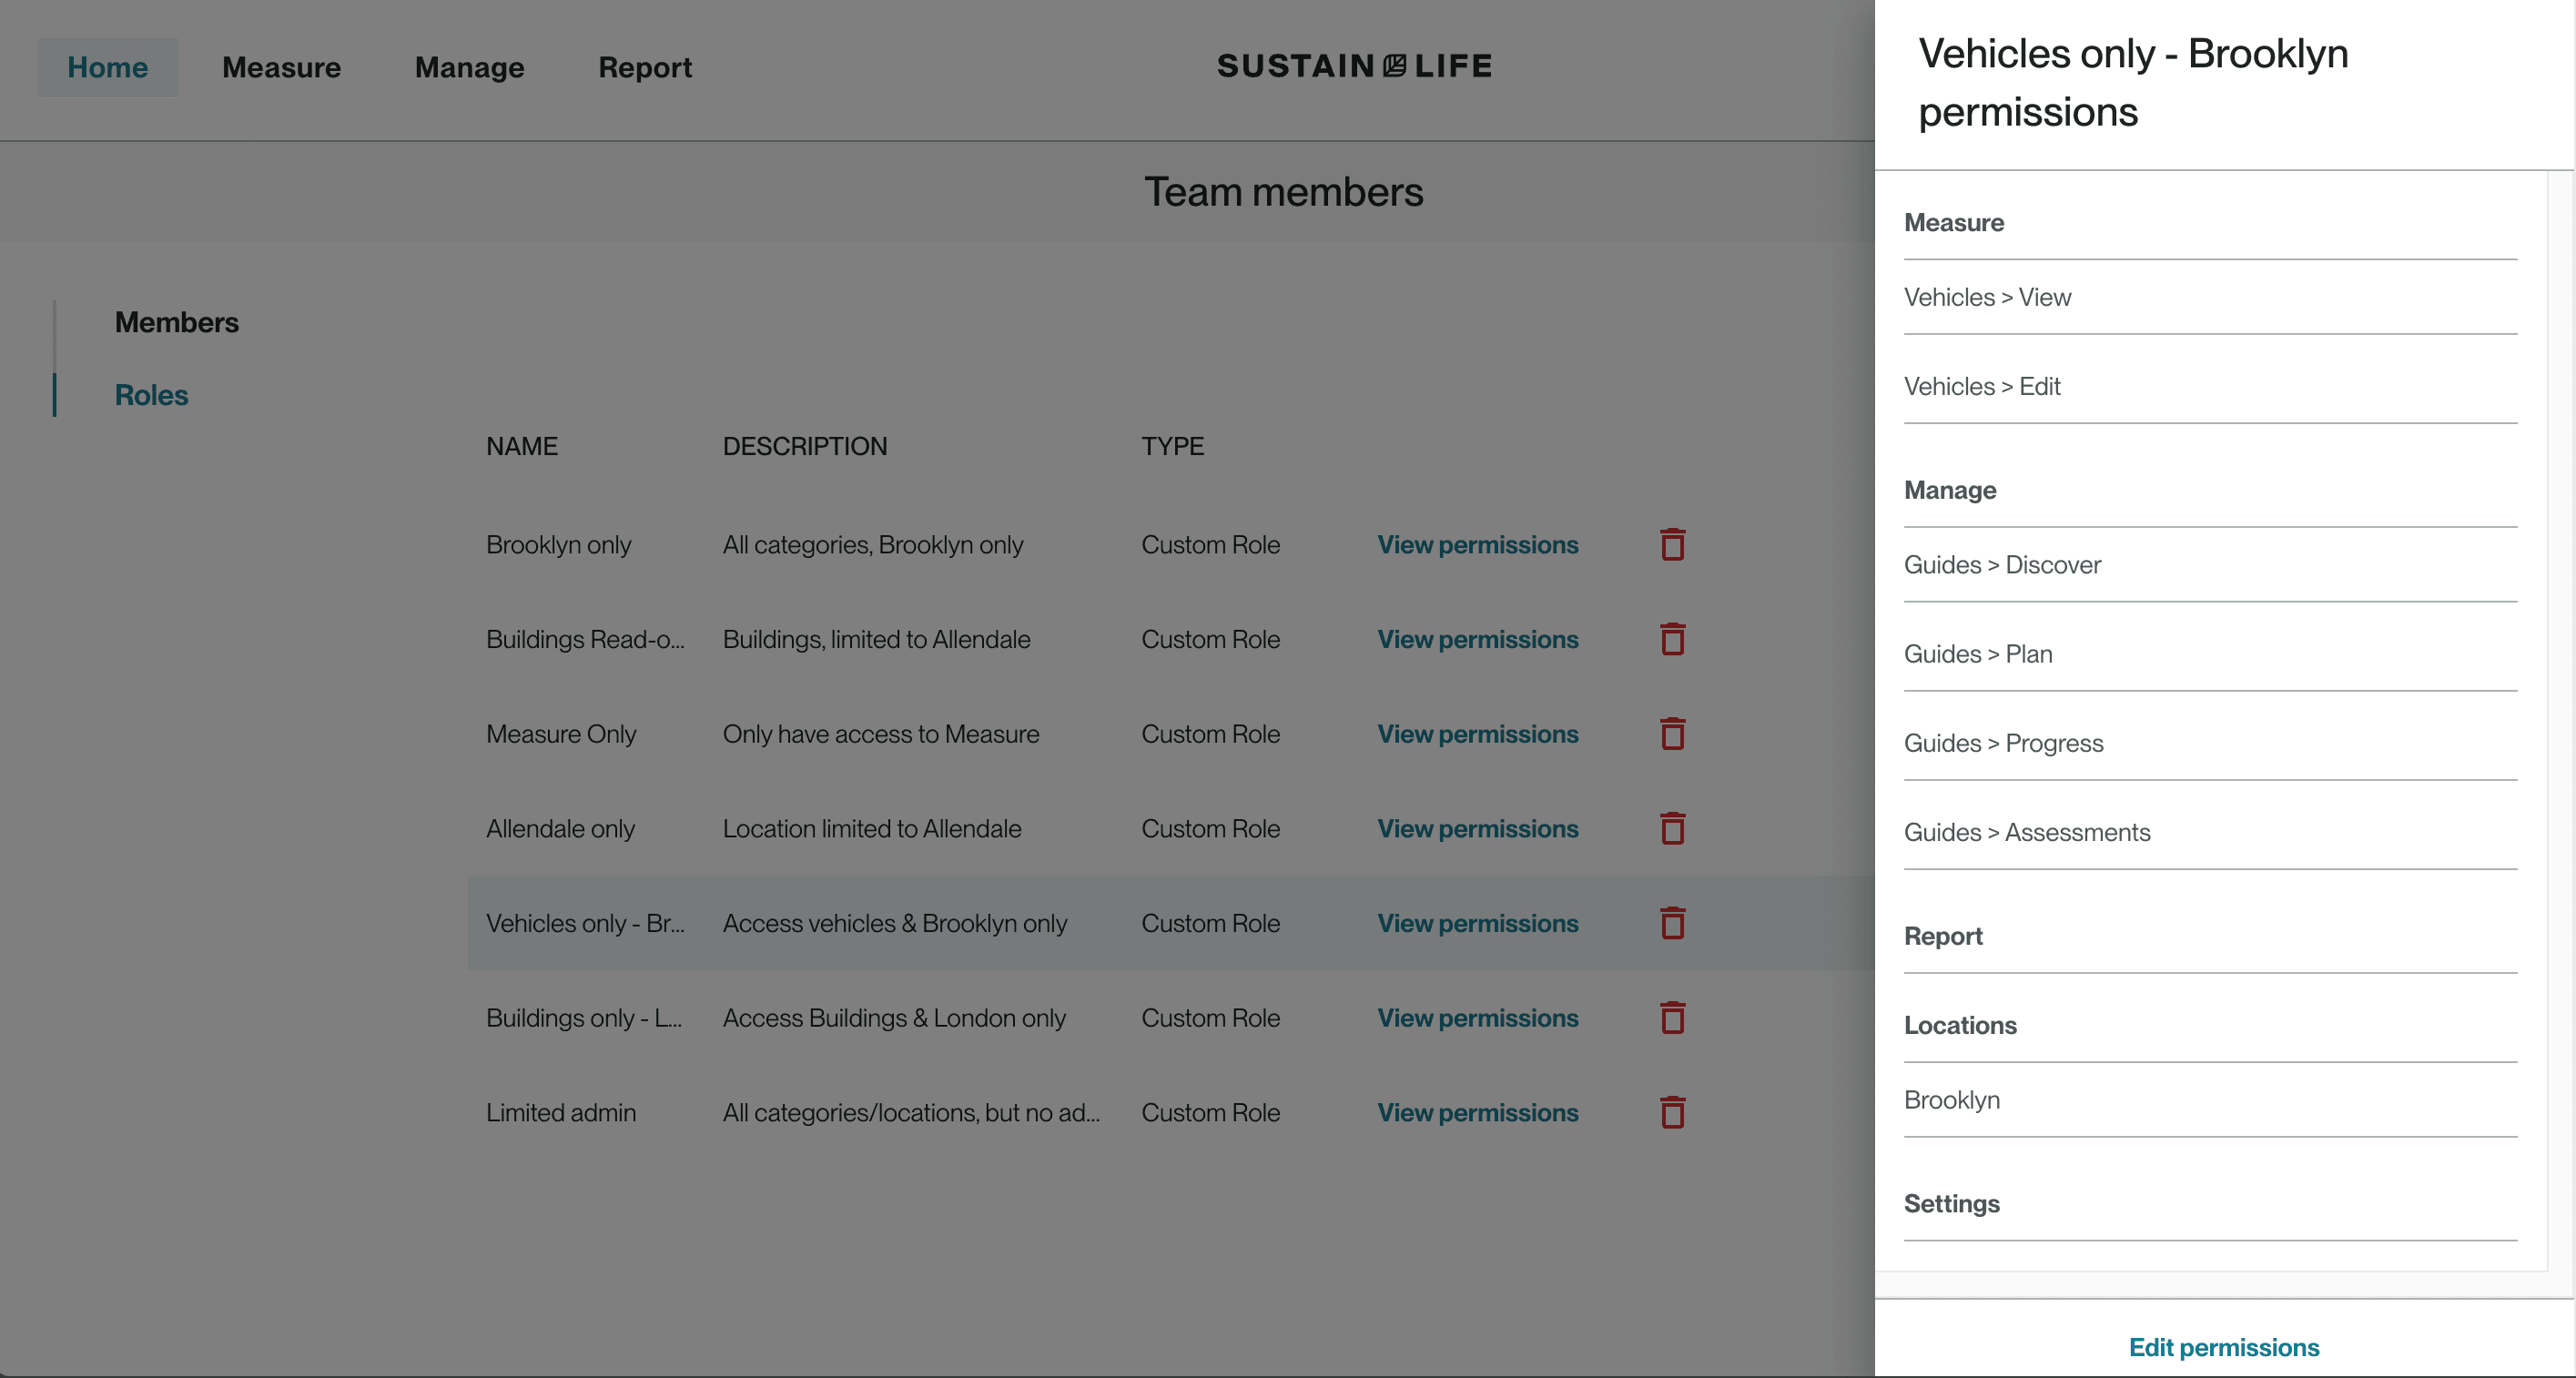
Once you have created the role, you can click on View permissions to see a side-panel summary of the associated permissions.
Category and page permissions
Checking a section "on" gives users access to all child pages within each section (Measure, Manage, Report). You can also expand each parent section to more granularly enable or disable permissions by page (e.g., Buildings).
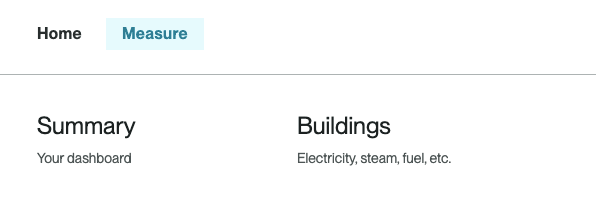
If a user has limited page/category permissions, they will only be able to see their permissions category in the application's top level navigation.
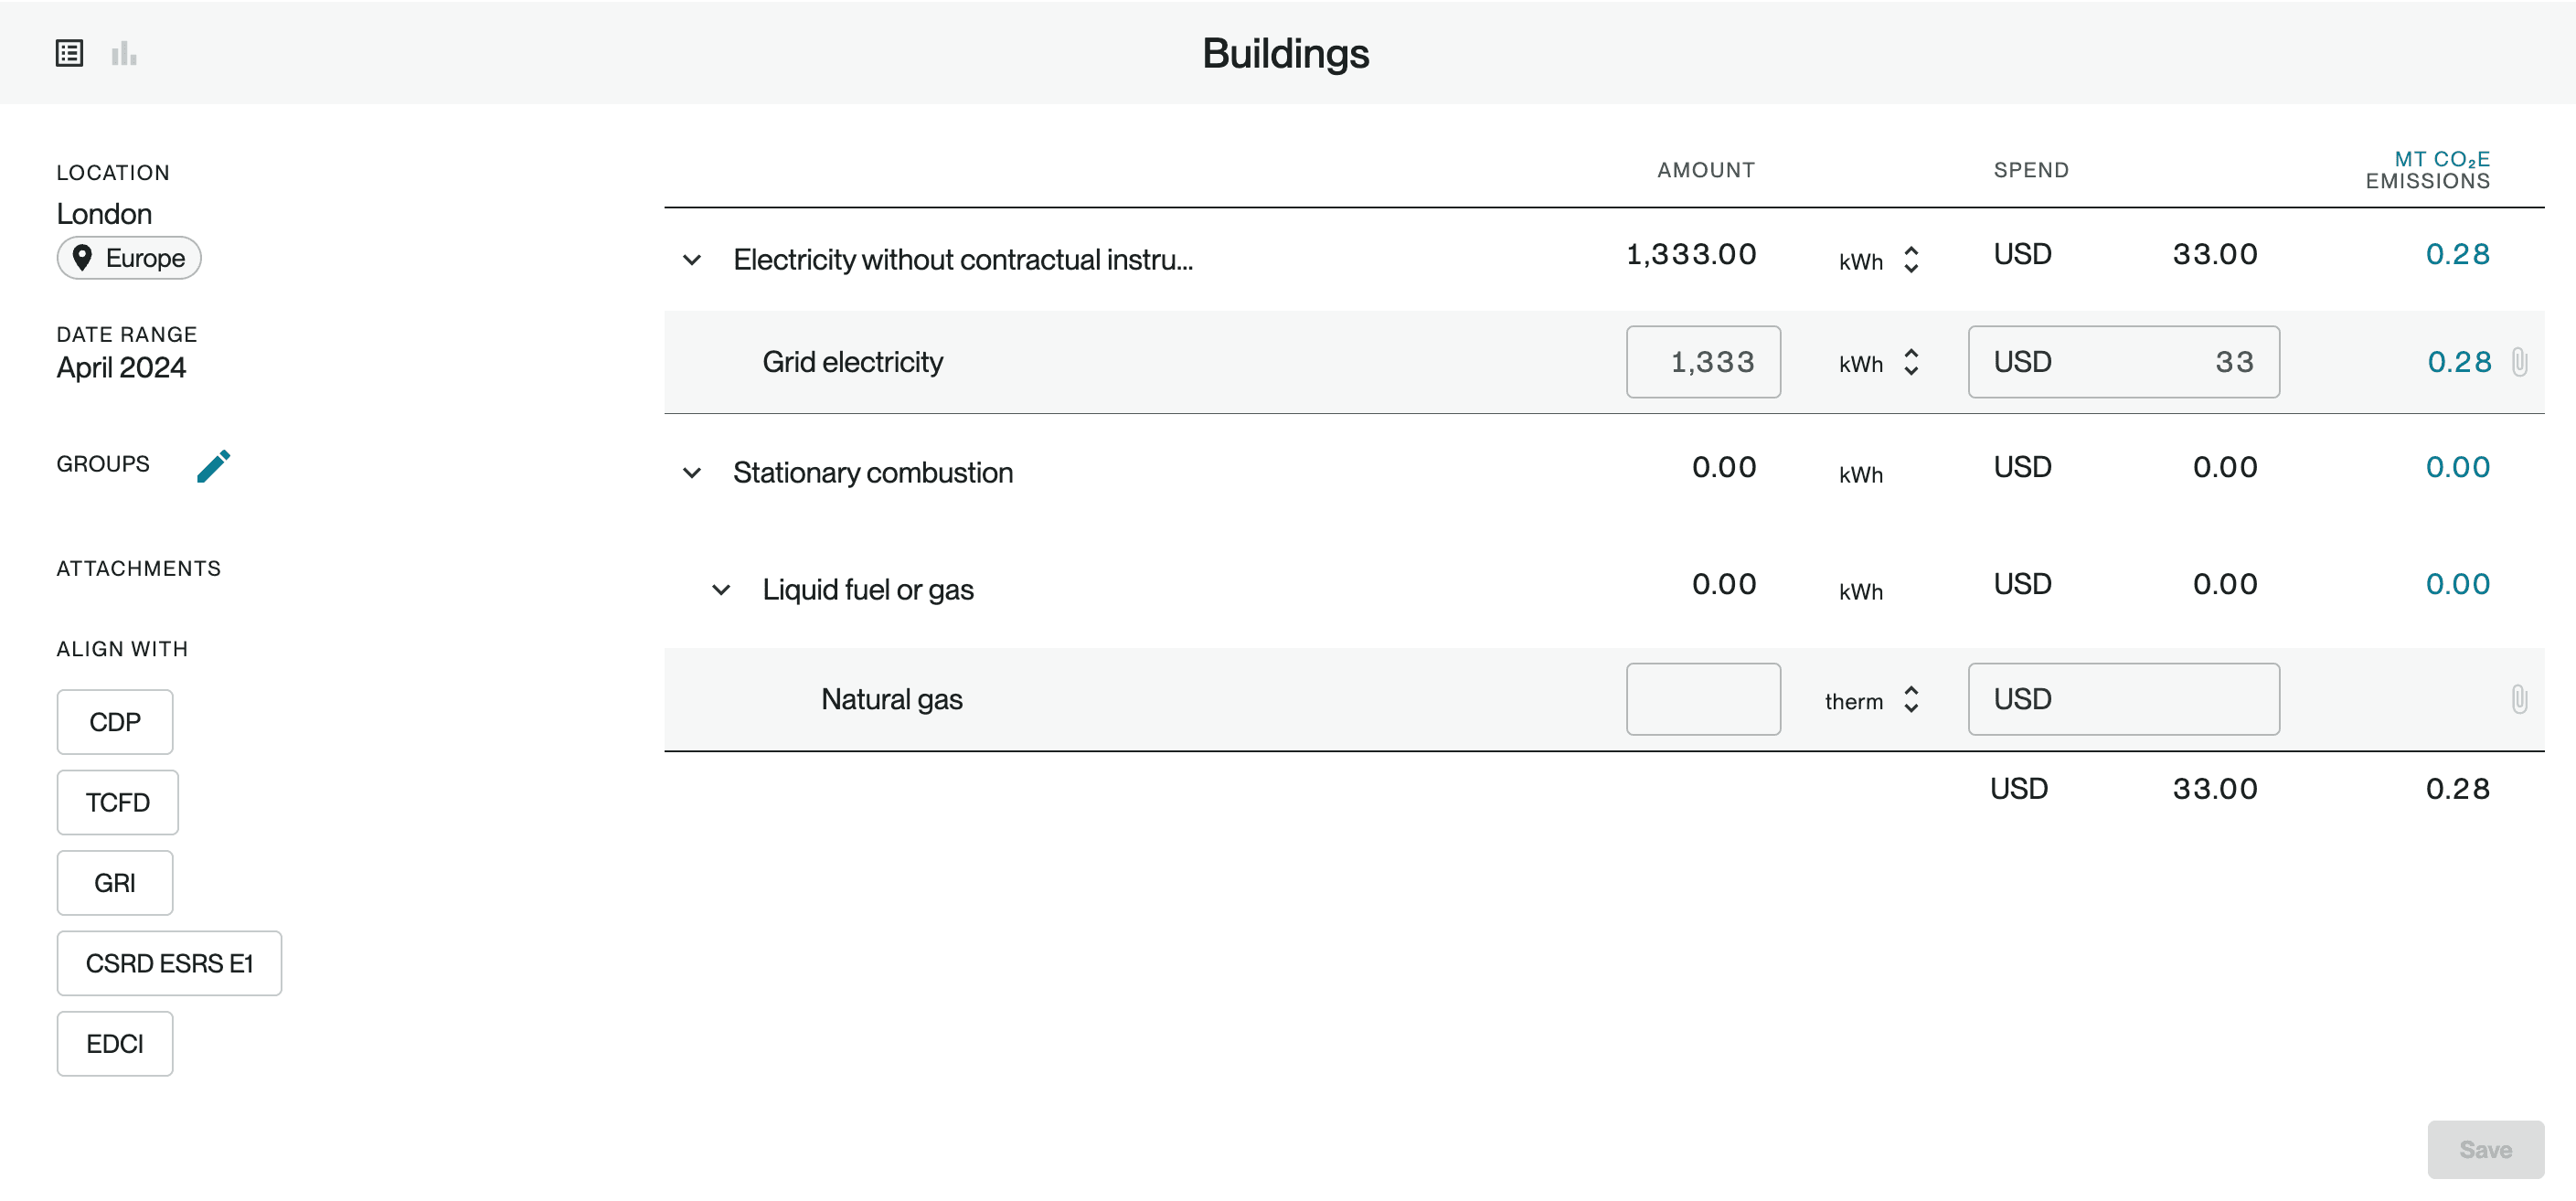
For the Measure categories, you can also select whether the user should have full Edit access or only View access (read only). If the user has View access, they will be able to see the details of previous entries within that category, but will not be able to make any changes.
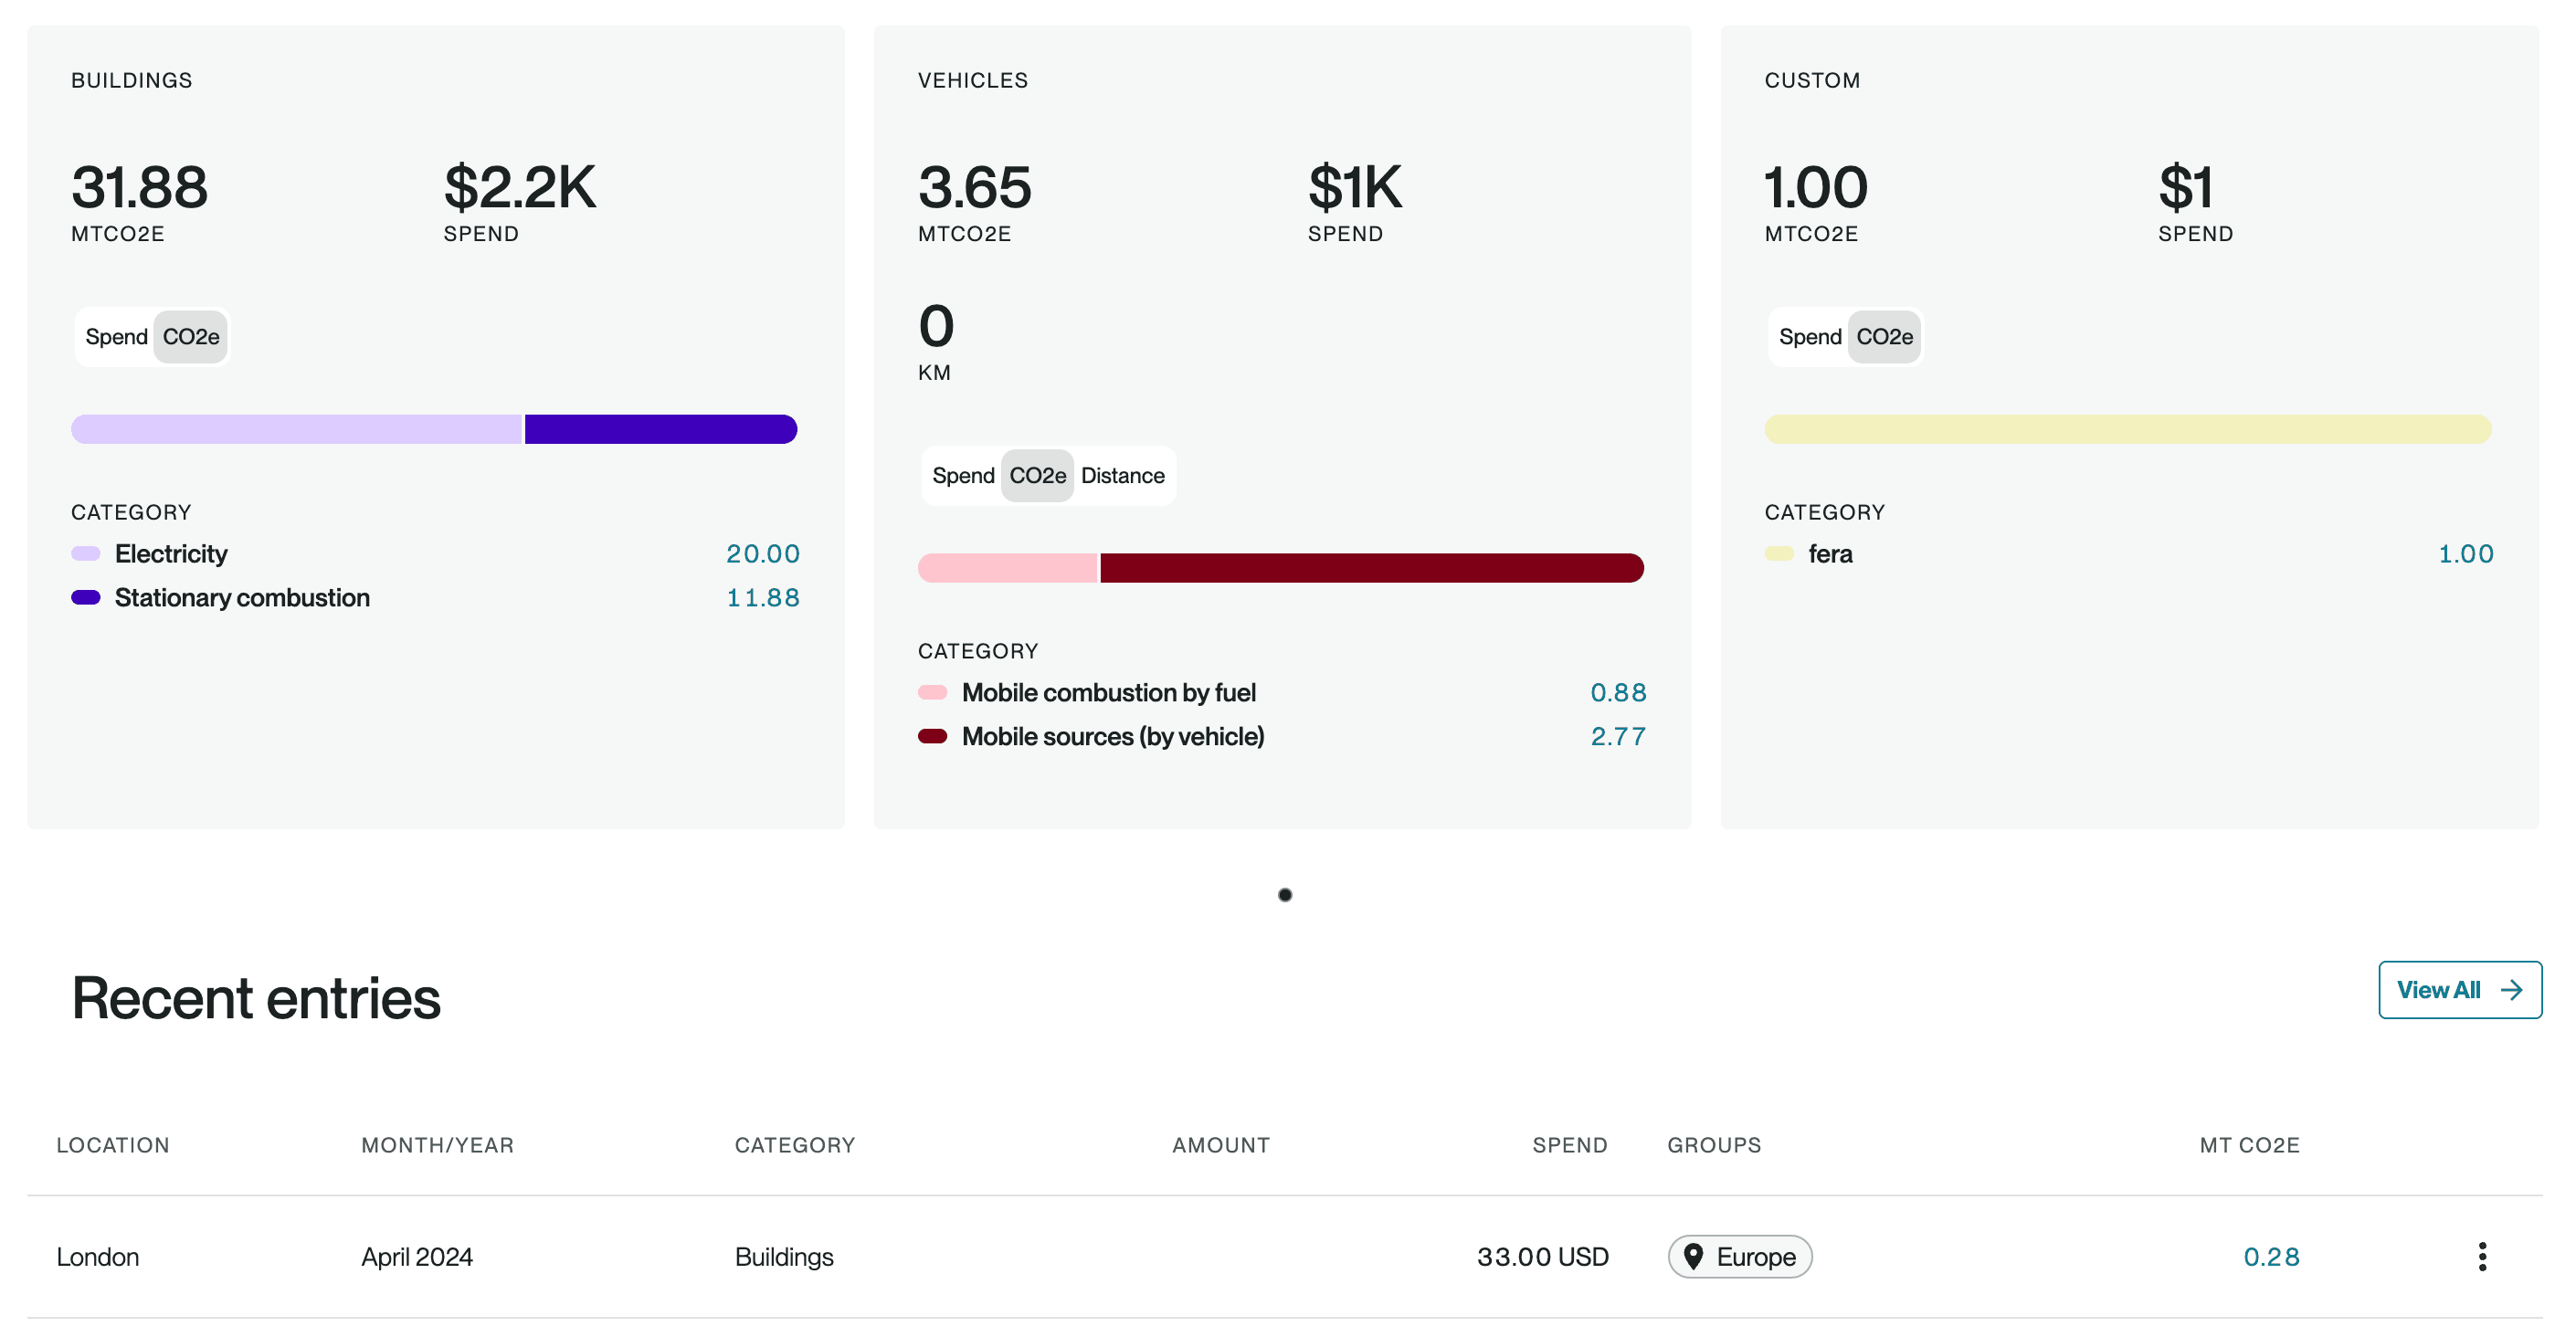
The Measure dashboard totals will still reflect organizational totals across all categories, but the user will only be able to see entry details from their permissioned category/categories (under "Recent entries" and "All entries").
Location permissions
Under Locations, you can choose which locations user is permissioned to use.
If you want users to be able to view/add data for all locations, simply check the parent "Locations" item.
If you want to limit users to certain locations, check only those location group(s) or individual location(s).
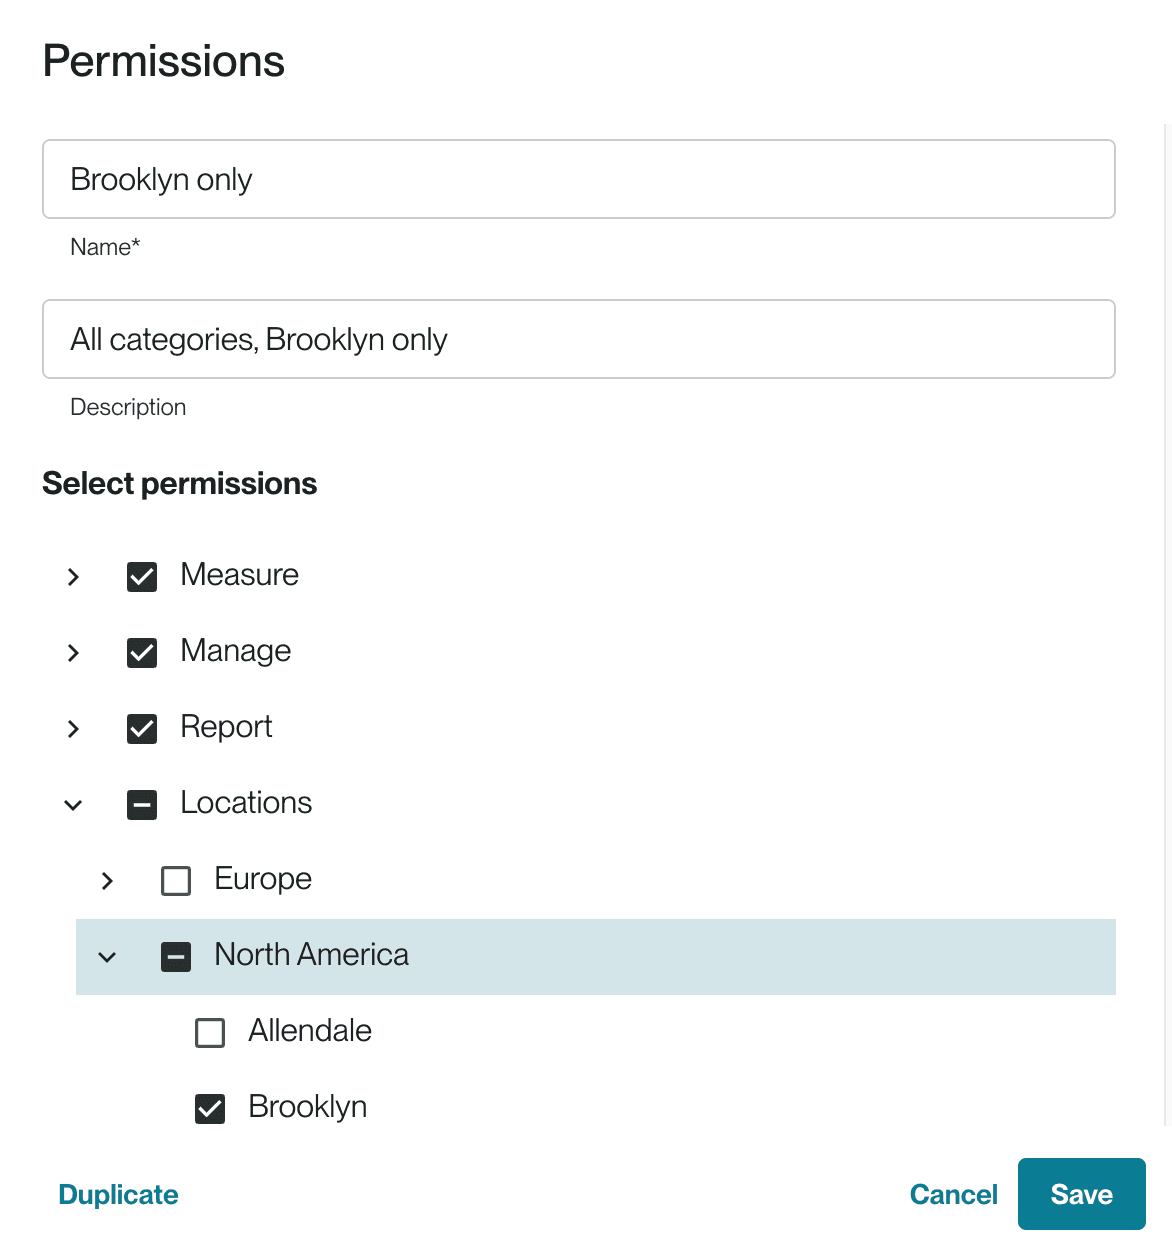
When a user has limited location permissions, they will only be able to configure settings, add new entries, and view past entries for those locations. Non-permissioned locations will not appear in the location dropdown.
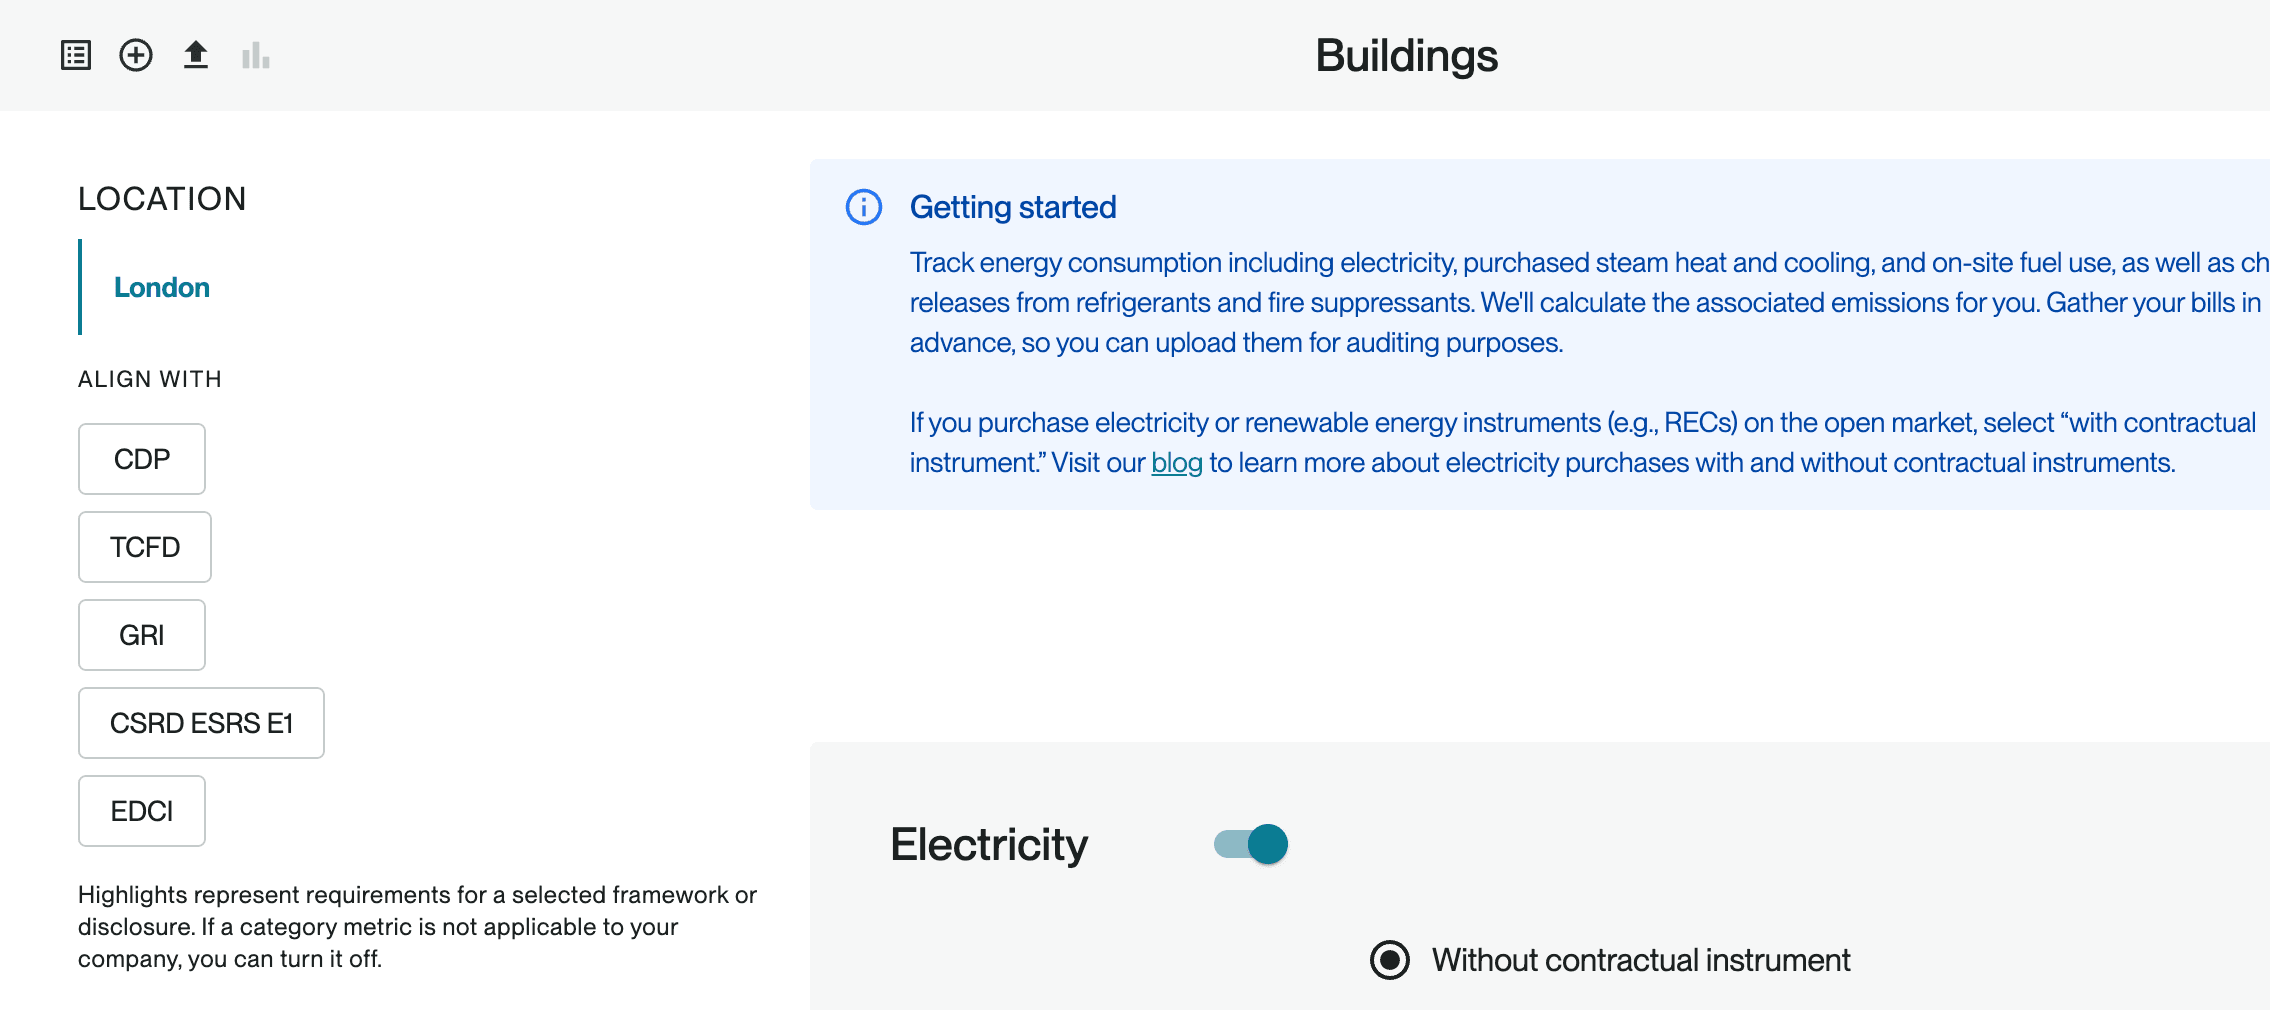
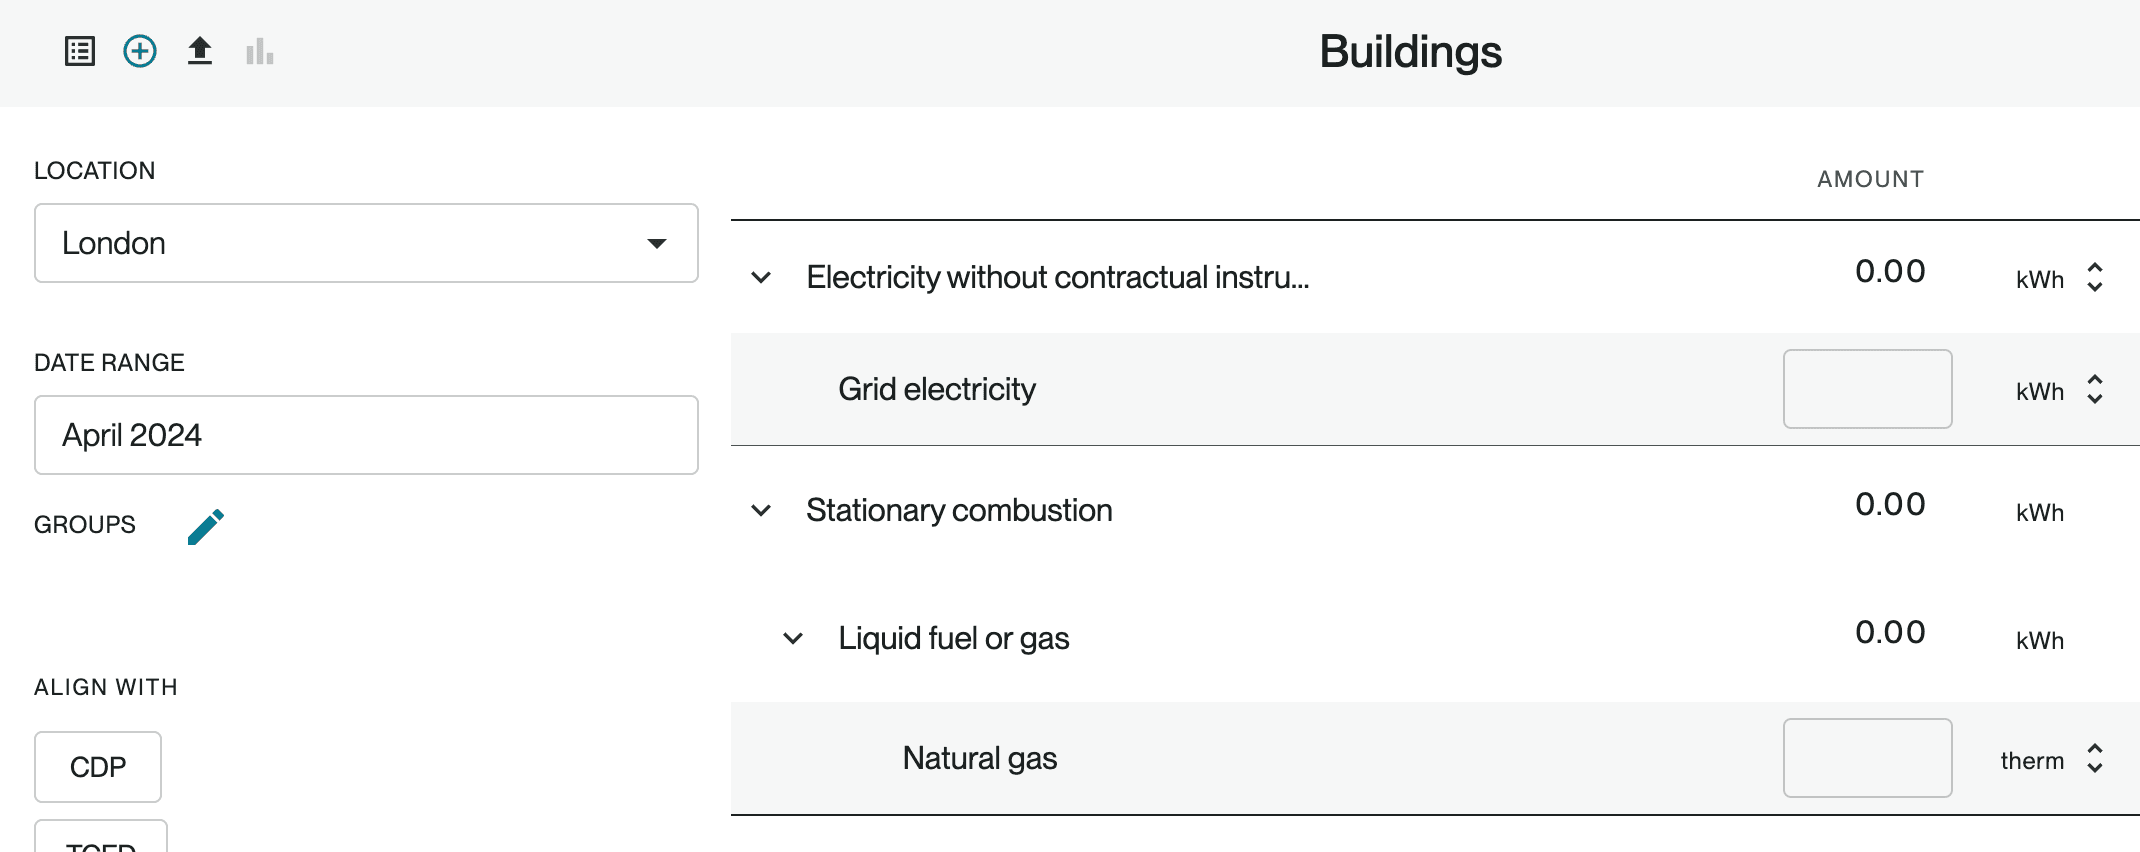
The Measure dashboard totals will still reflect organizational totals across all categories, but the user will only be able to see entry details from their permissioned location(s) (under "Recent entries" and "All entries").


Settings permissions
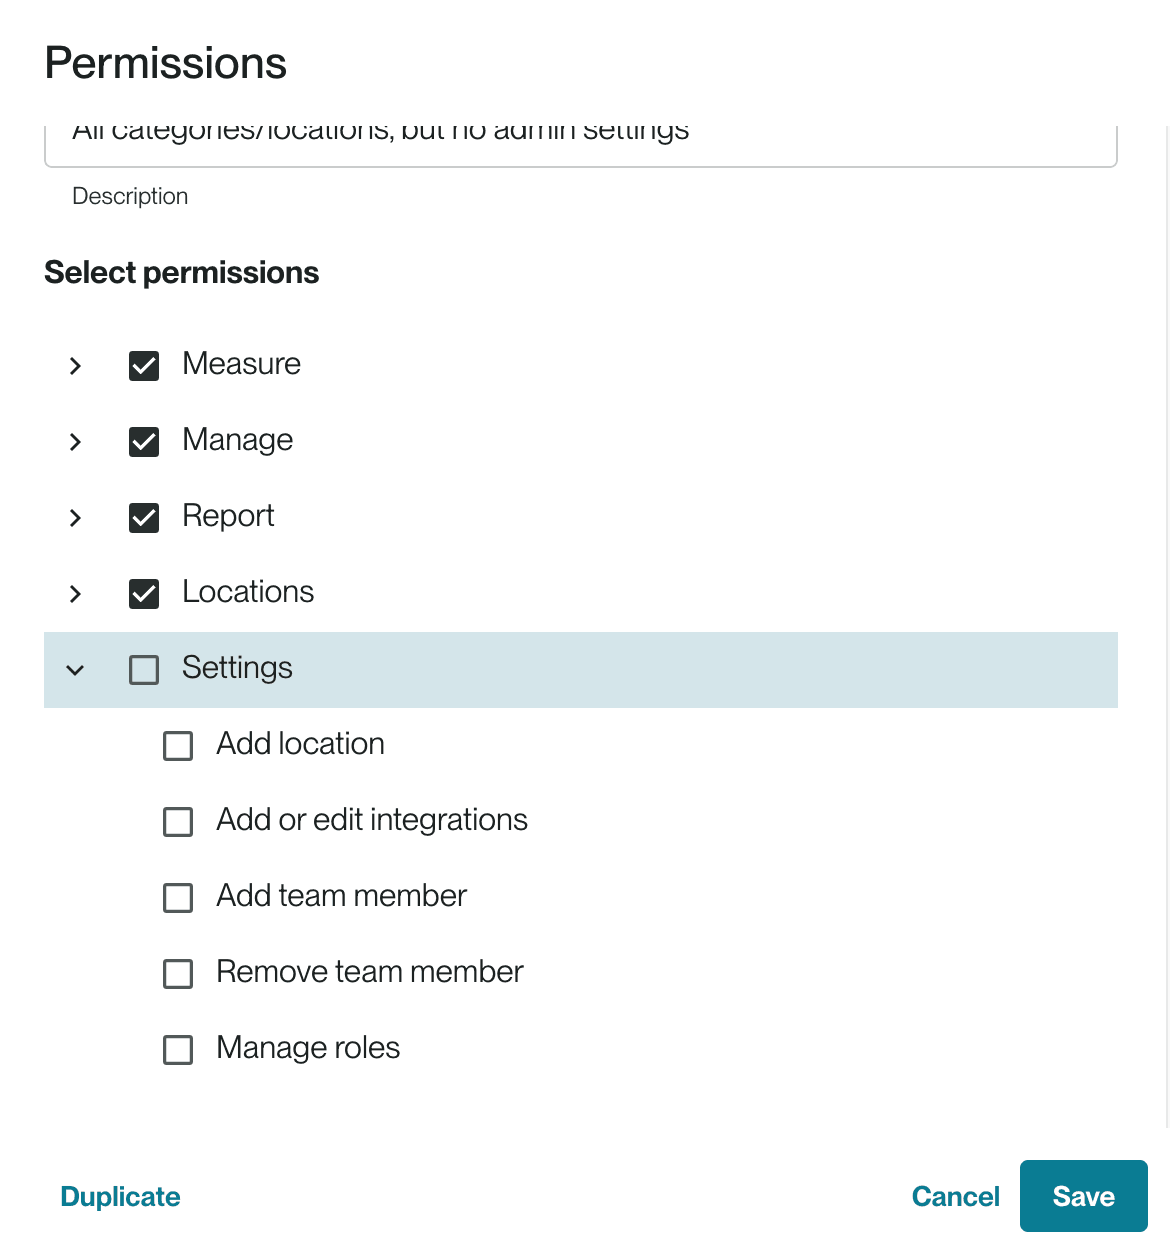
Under Settings, you can control other permissions including Add location, Add or edit integrations, Add team member, Remove team member, Manage roles, and Add client (for Consultant and Portfolio subscription users). Administrators have all of these permissions turned on by default.
If you have "Manage roles" permissioned on, you can add and remove custom roles as well as change the role on each user.
Deleting custom roles
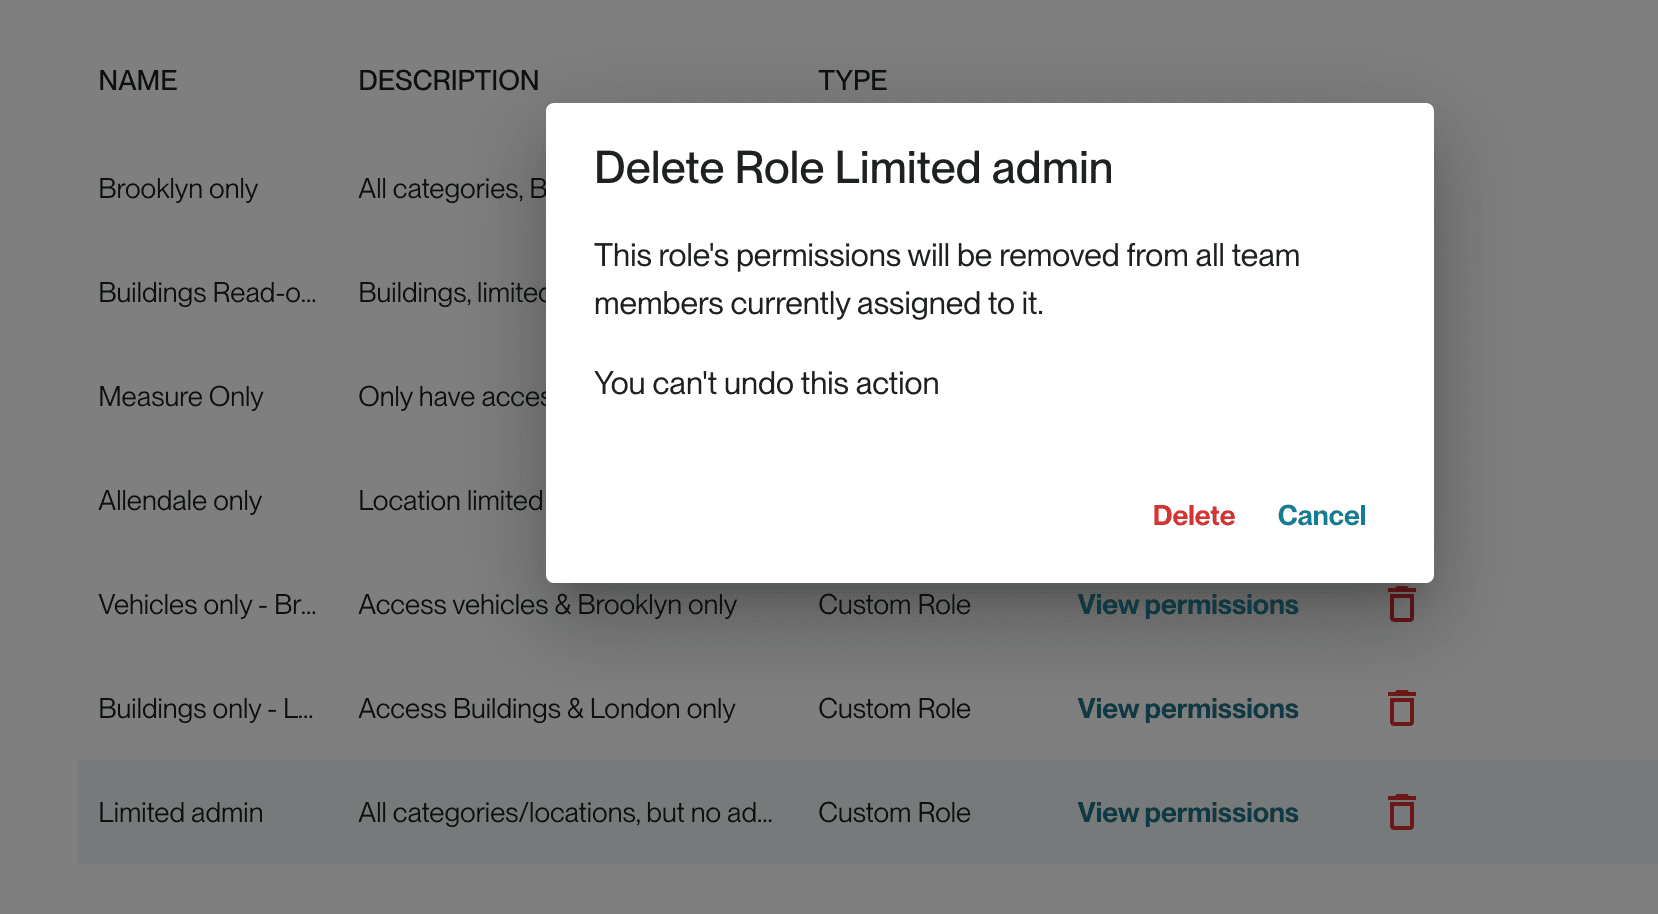
If you no longer need a custom role, you can click the trash can icon next to the role. From here, you can confirm deletion. Note that the role will then be removed from any team member currently assigned to it. Any team members with deleted roles with be moved to "Administrator" as a placeholder, so be sure to make the proper role updates afterwards.
FAQs
Why might I want to create custom roles?
Creating custom roles is entirely optional. If the default Administrator and Team member roles meet your needs, you do not need to create additional roles.
However, here are a few examples of why you may want to create custom roles.
- Category permissions: Team members need access to different categories depending on the areas they are responsible for tracking (e.g. some users only need to access Buildings, others only need to access People). This is also a way to more clearly assign certain categories to certain users, preventing them from seeing irrelevant categories.
- View vs. Edit permissions: You want to allow users to review previously entered data, but prevent them from making any changes.
- Location permission: Each location has a facility manager who will be entering utility data for their site, but you don't want them to see other locations' entries.
- Settings permissions: You want to limit certain company-wide actions (like adding locations, or managing user roles) for some team members.
Do custom permissions apply across the entire application?
Custom permissions affect a user's ability to access pages/categories and locations across the entire application, with the exception of the below.
The homepage Measure dashboard will still reflect organizational totals across all categories and locations, but the user will only be able to see entry details from their permissioned categories and locations (under "Recent entries" and "All entries").
The custom permissions do not yet apply to the Analytical Dashboards under Report. If further limiting access to certain dashboards is a requirement for your account, please reach out to support@sustain.life.
Can I mix and match location and category permissions?
No, you cannot granularly set different location permissions across different categories. For example, you cannot enable Buildings > New York but Vehicles > London. You can only set location permissions across the board.
Copyright 2025 Sustain.Life All rights reserved
